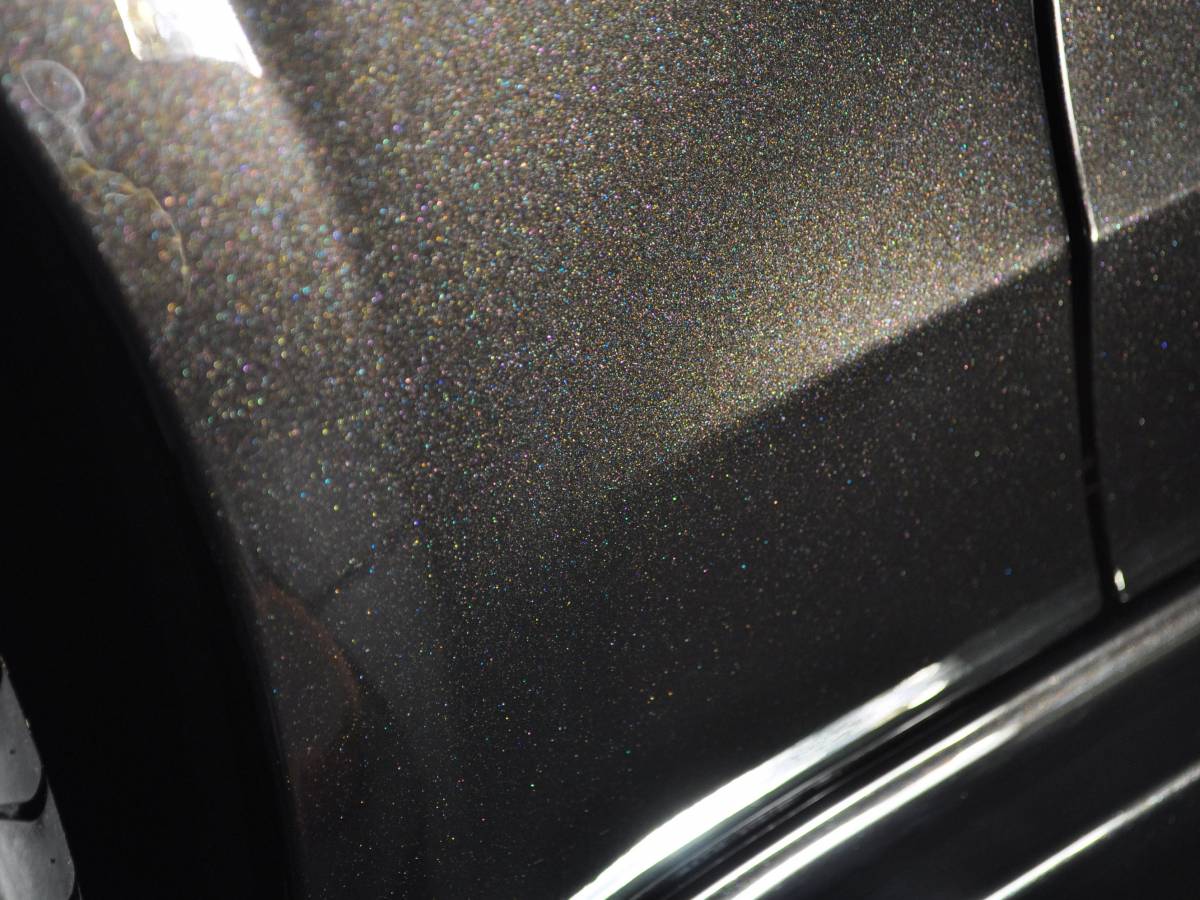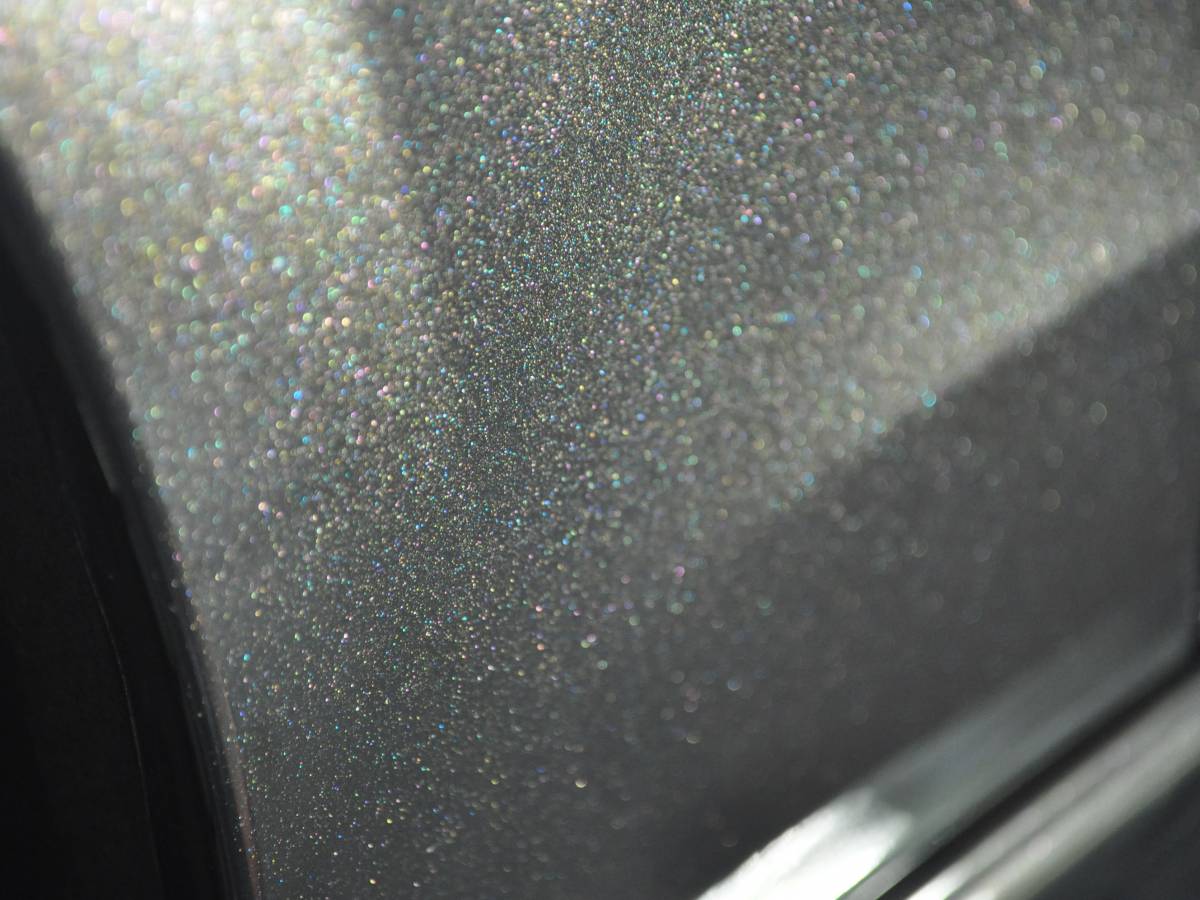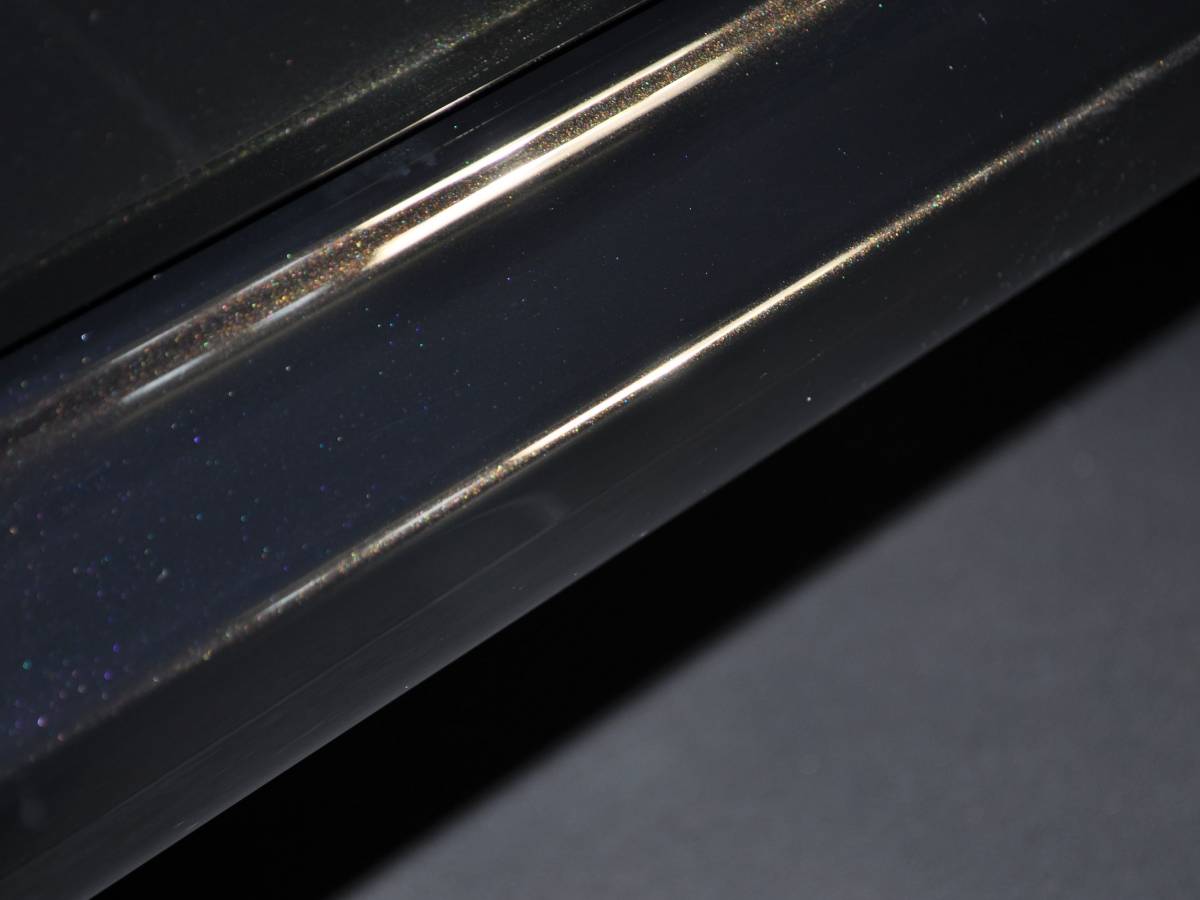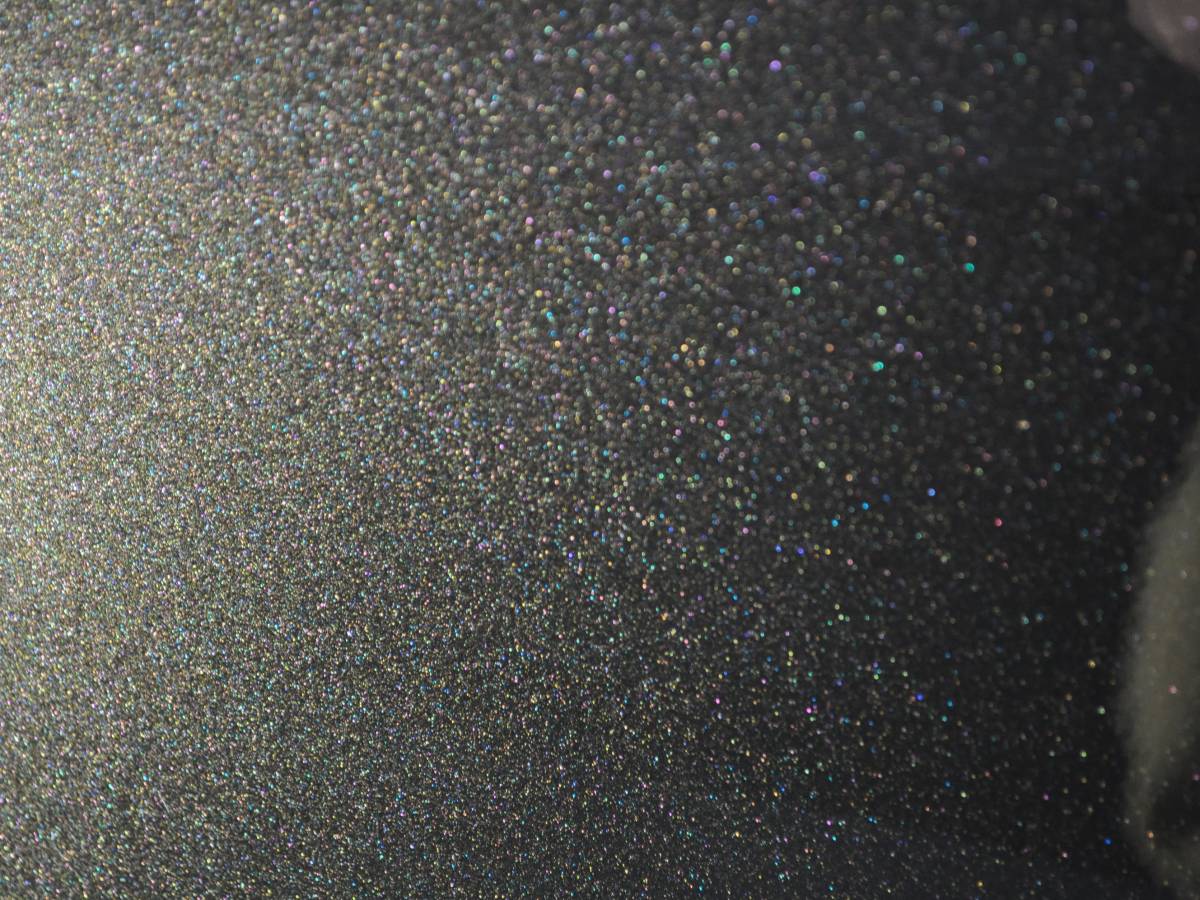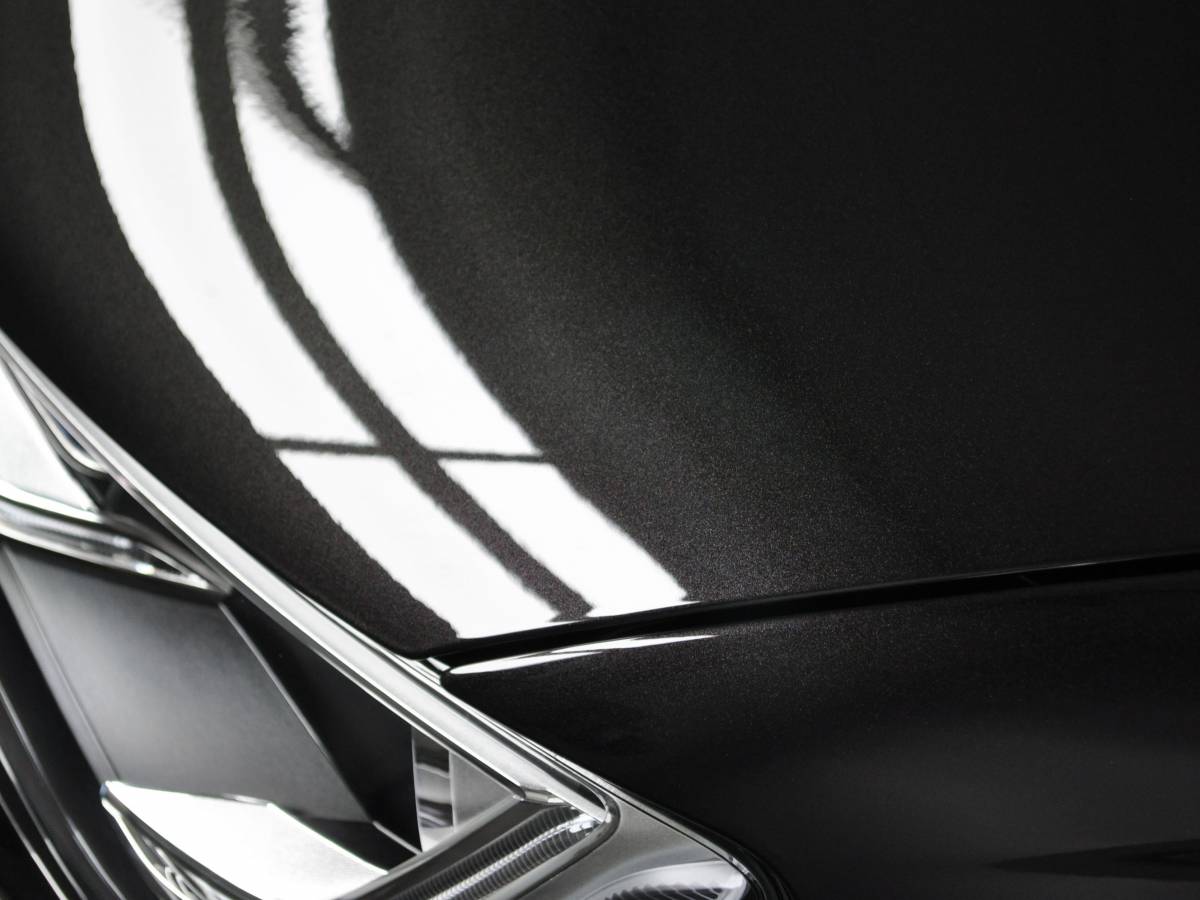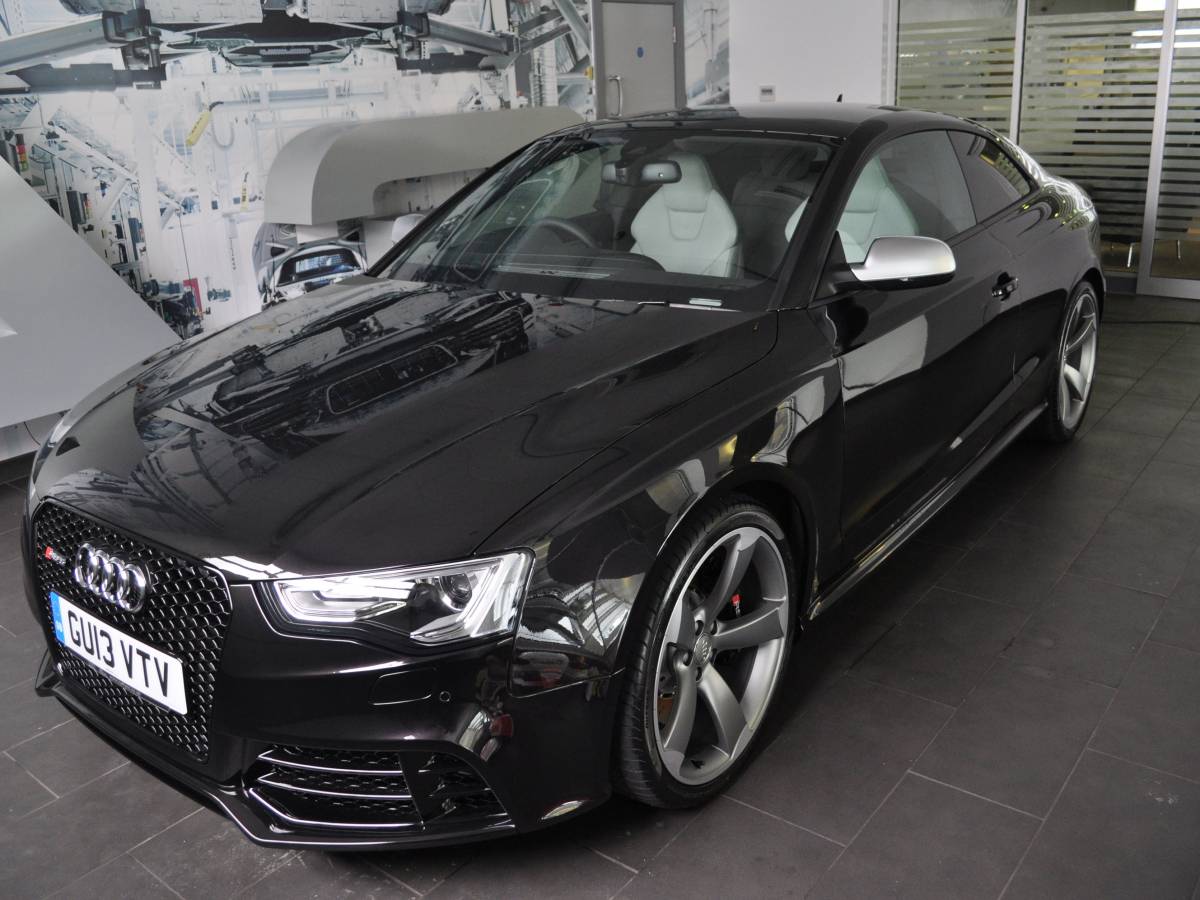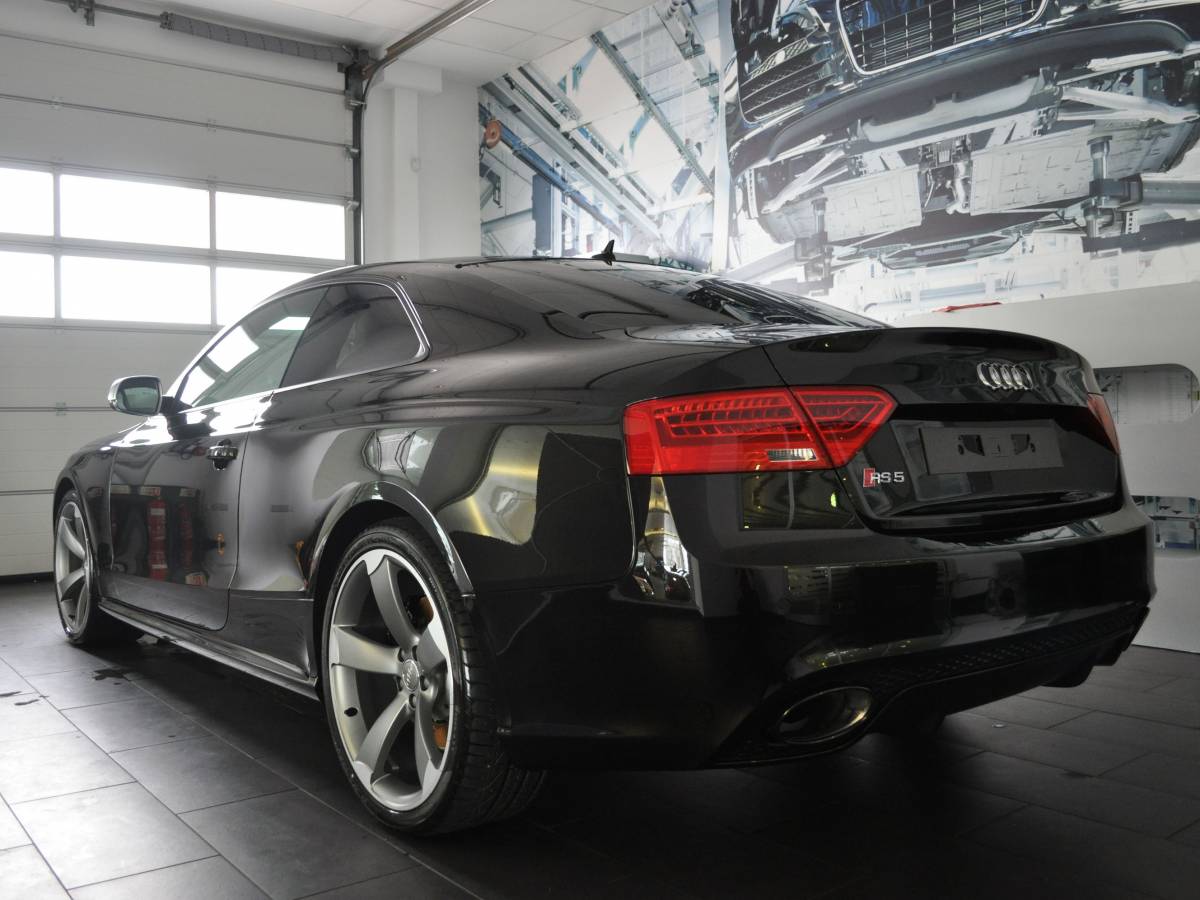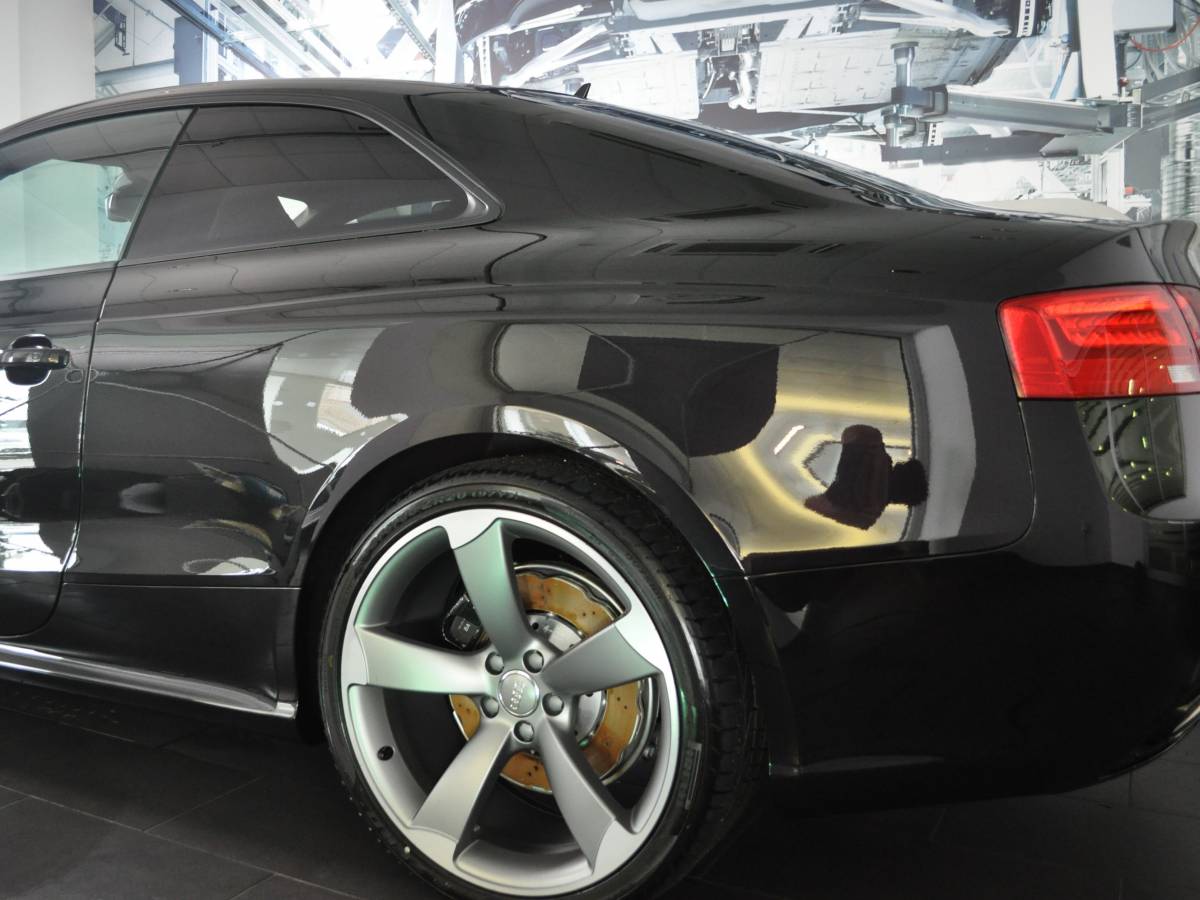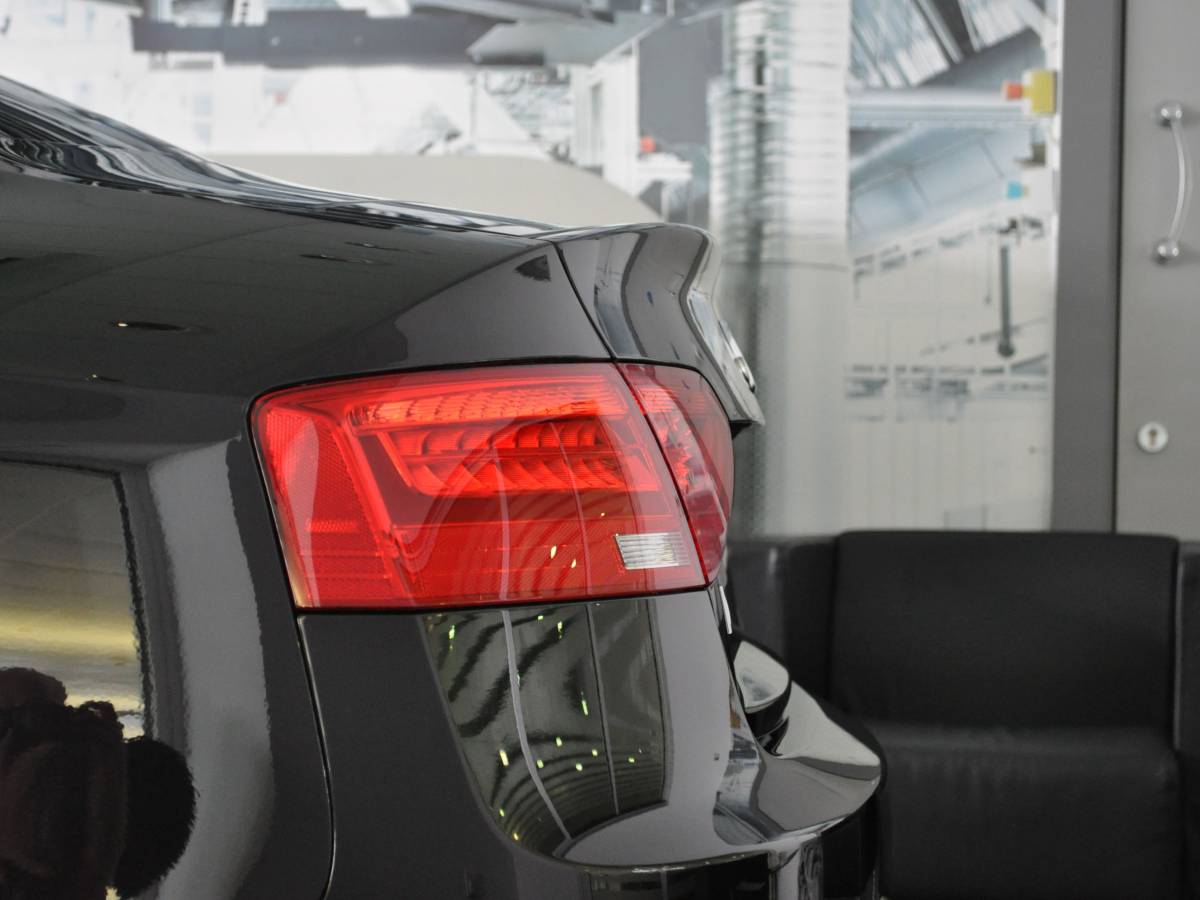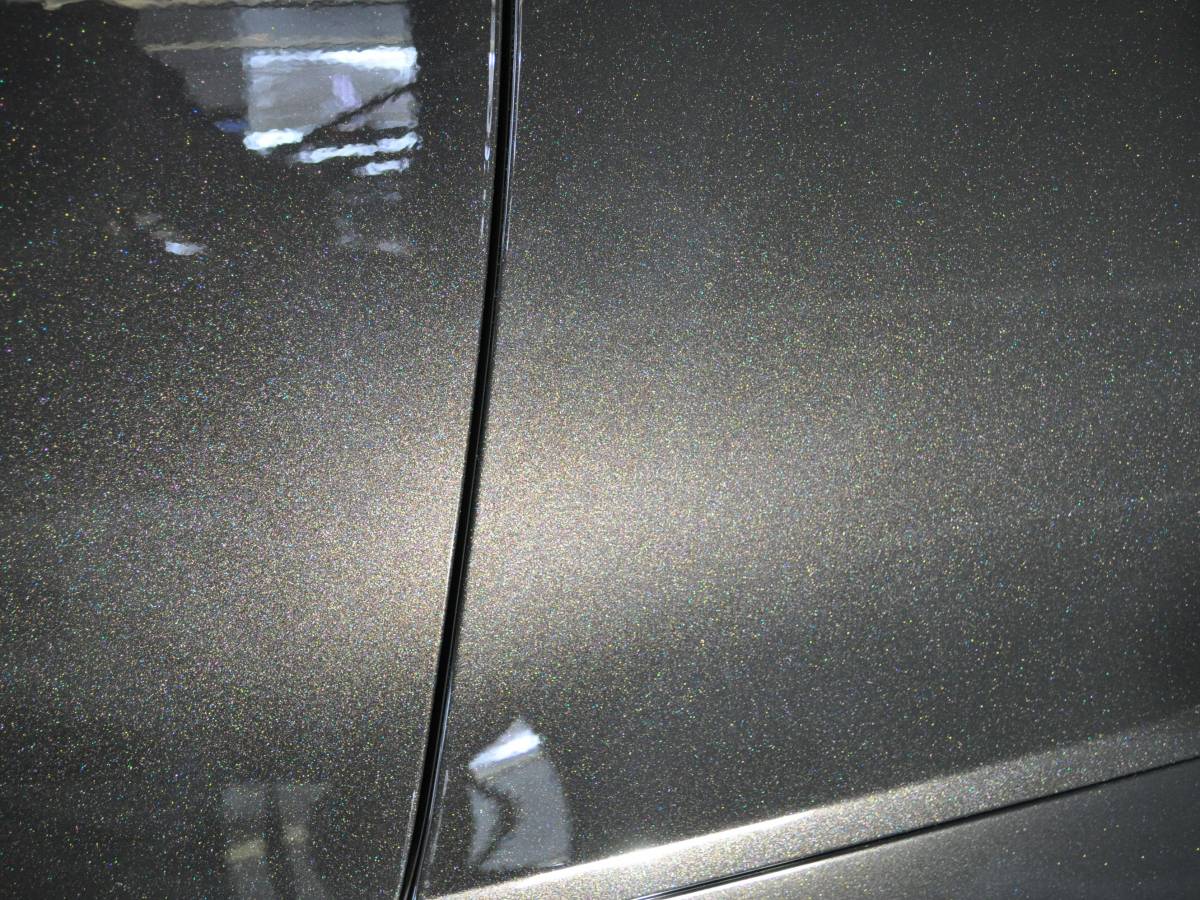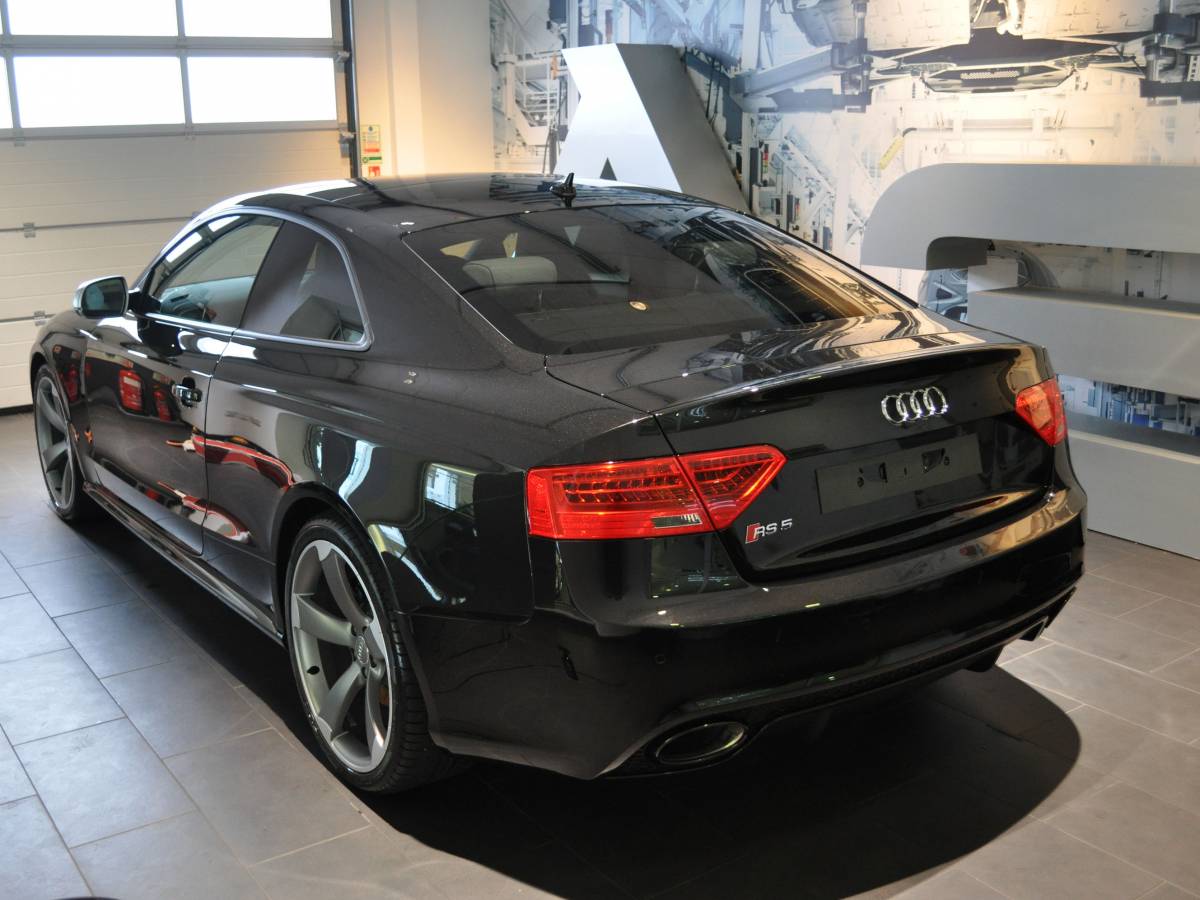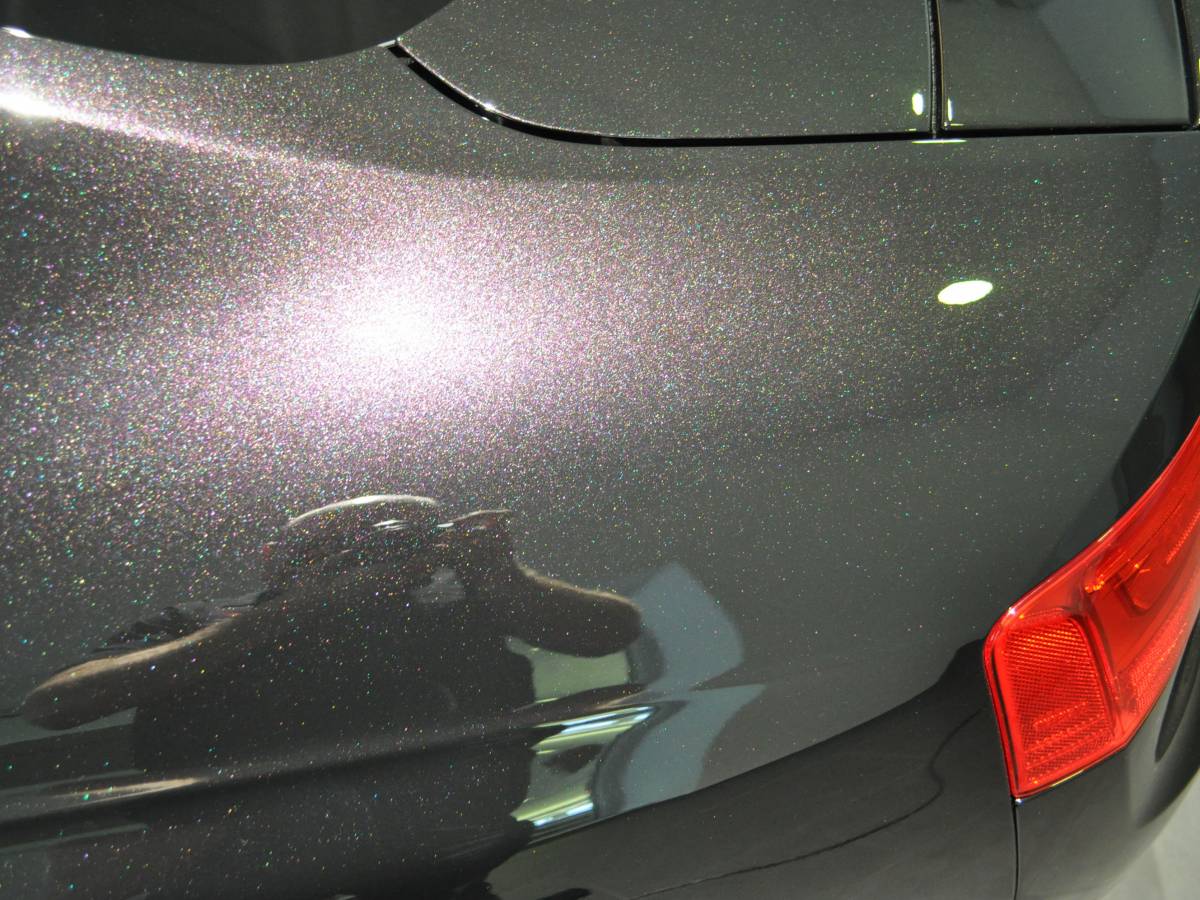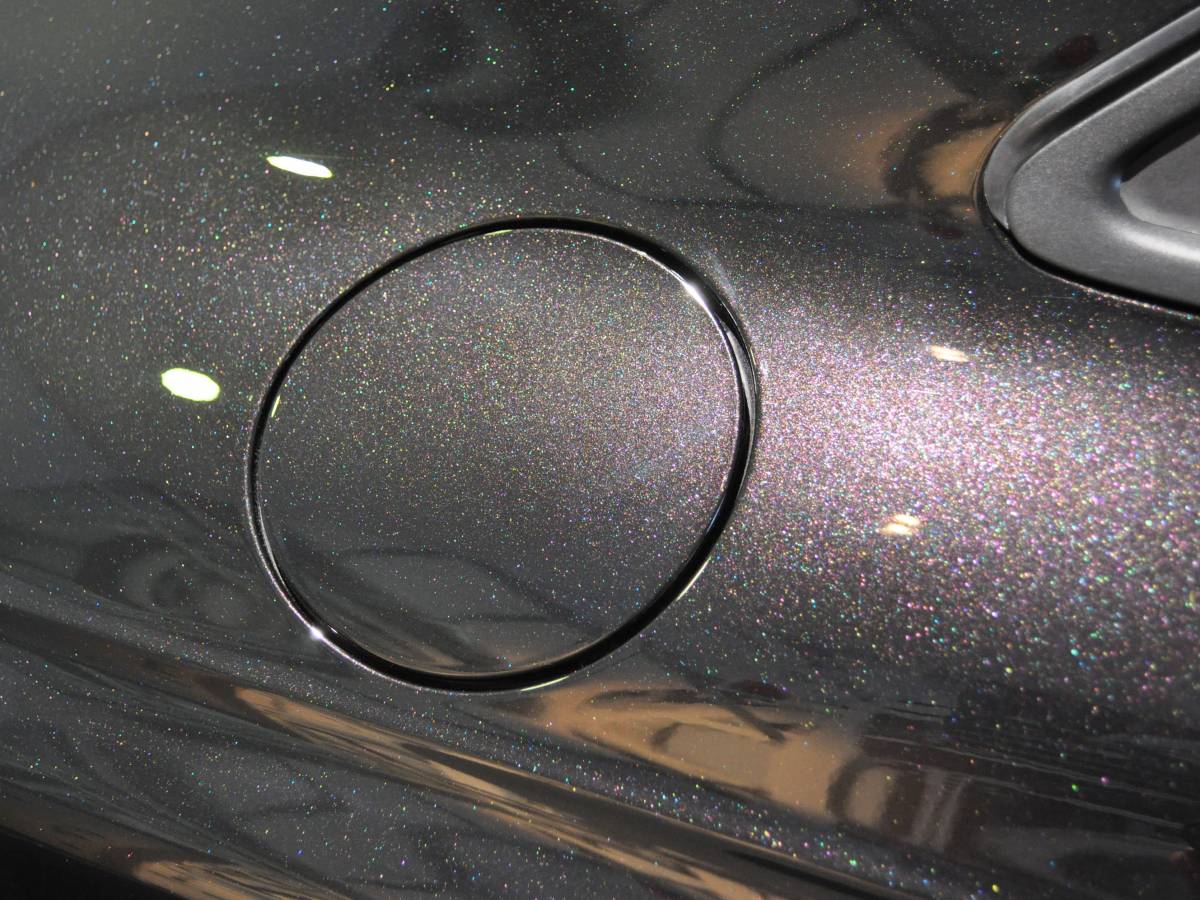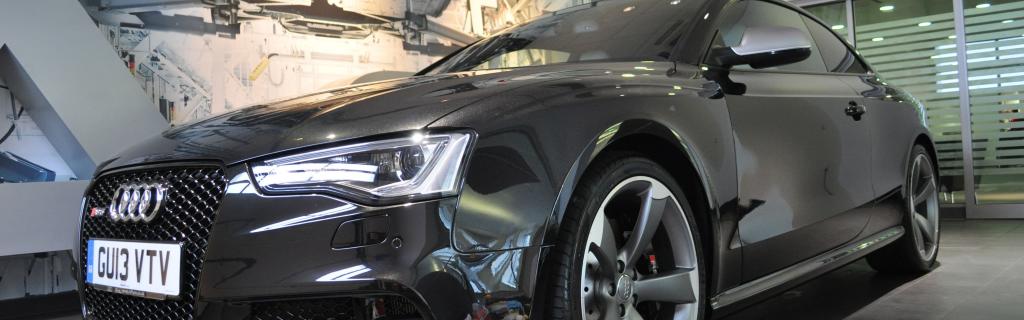
It’s commonly thought that a car looks its absolute best when new. Here we have a new car detail on an Audi RS5, through Dream Detail’s professional eye as to what a new car is really like. This car was ordered in the gorgeous Black Panther Crystal Effect (colour code H8H8). The customer declined the dealerships ‘protection package’ as was concerned over what it involved and why he needed it. Dream Detail offered a bespoke protection package tailored just for the customer, ensuring the car was given the best possible start to its ownership.
Generally speaking, a cars paintwork life begins at the factory as one of the first things to be completed in the build. As the car progresses through the build stations, the rest of the car is put together. When completed, rolling road tested and inspected, any paint defects found are corrected, by hand with machine polishers albeit to a time scale as the production line is always moving. The car will then be part wrapped in various films/foam bumpers to protect the car.
The cars journey then begins to the dealership. This may involve various modes of transport including open trailer via motorway or shipping. At this point, the cars paintwork will without a doubt be contaminated, dirty and in need of work. All cars when delivered to the dealership are then washed, dried and put on forecourt ready to be sold, open to the elements and further contamination. At this point, the car can sit for weeks until sold, and probably washed a number of times in between.
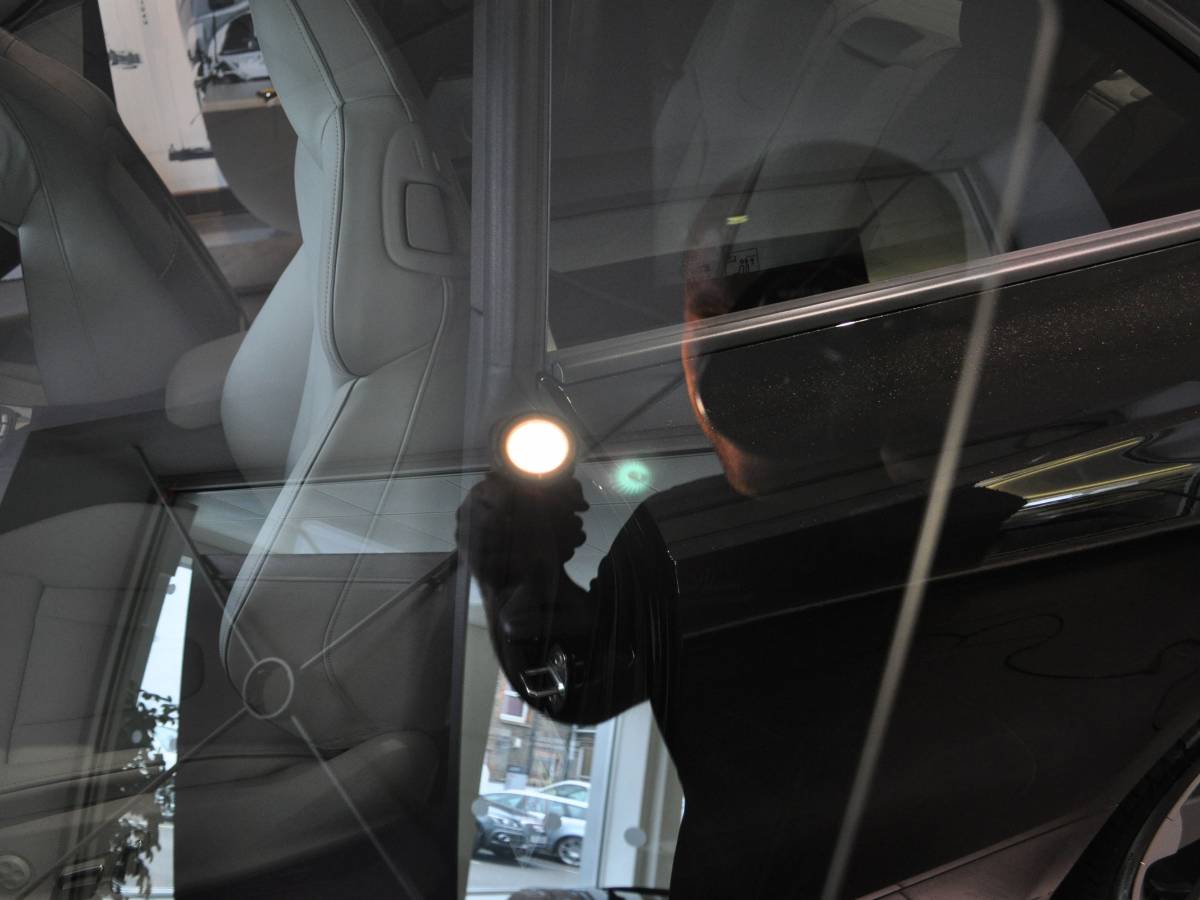
In the case of this RS5, Dream Detail specifically instructed the dealership to take the car off the trailer, remove protective films, wash and then dry only. The car was then stored in a prep bay overnight ready for our detailing work to begin. Upon arrival we inspected the car thoroughly, ensuring the vehicle had no defects, stone chips or dents and documented this for the customers reference as he had still not seen the car in the flesh.
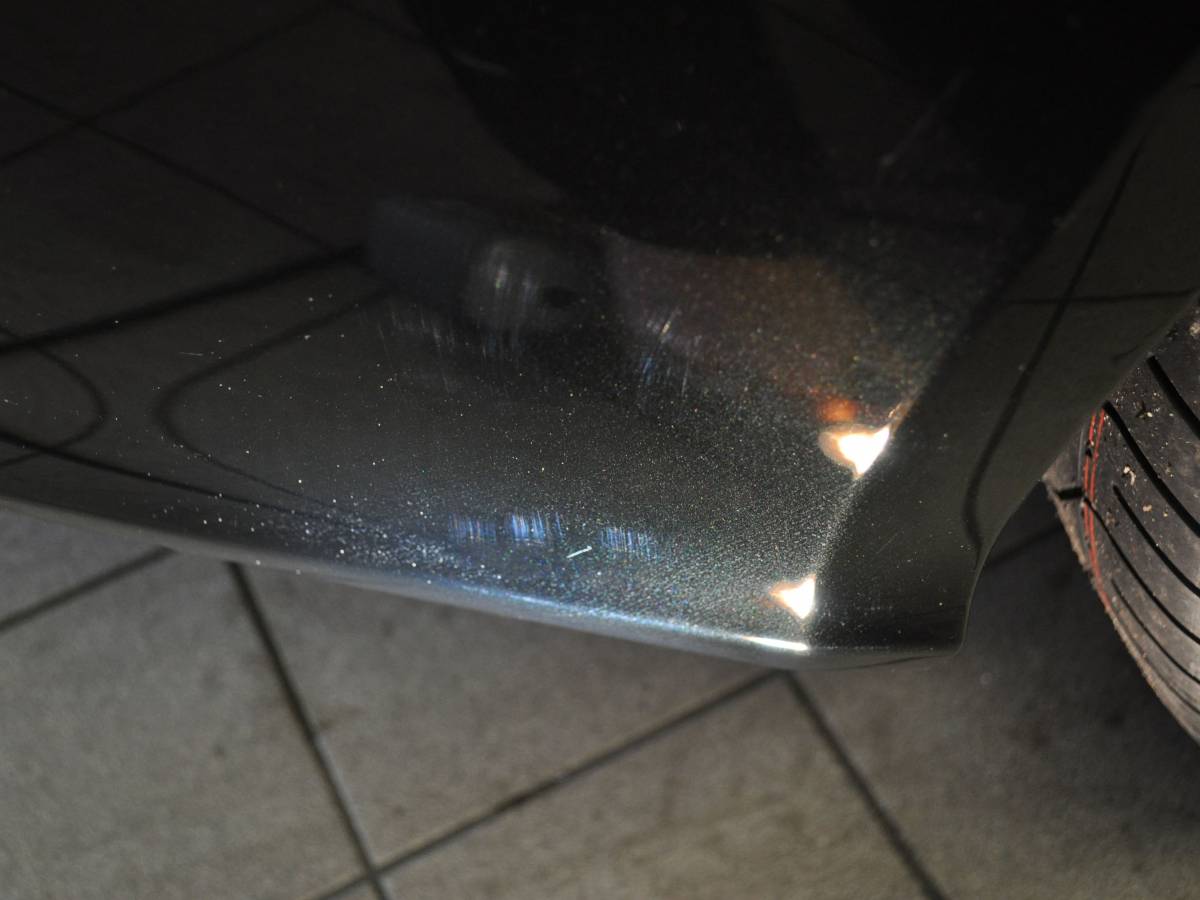
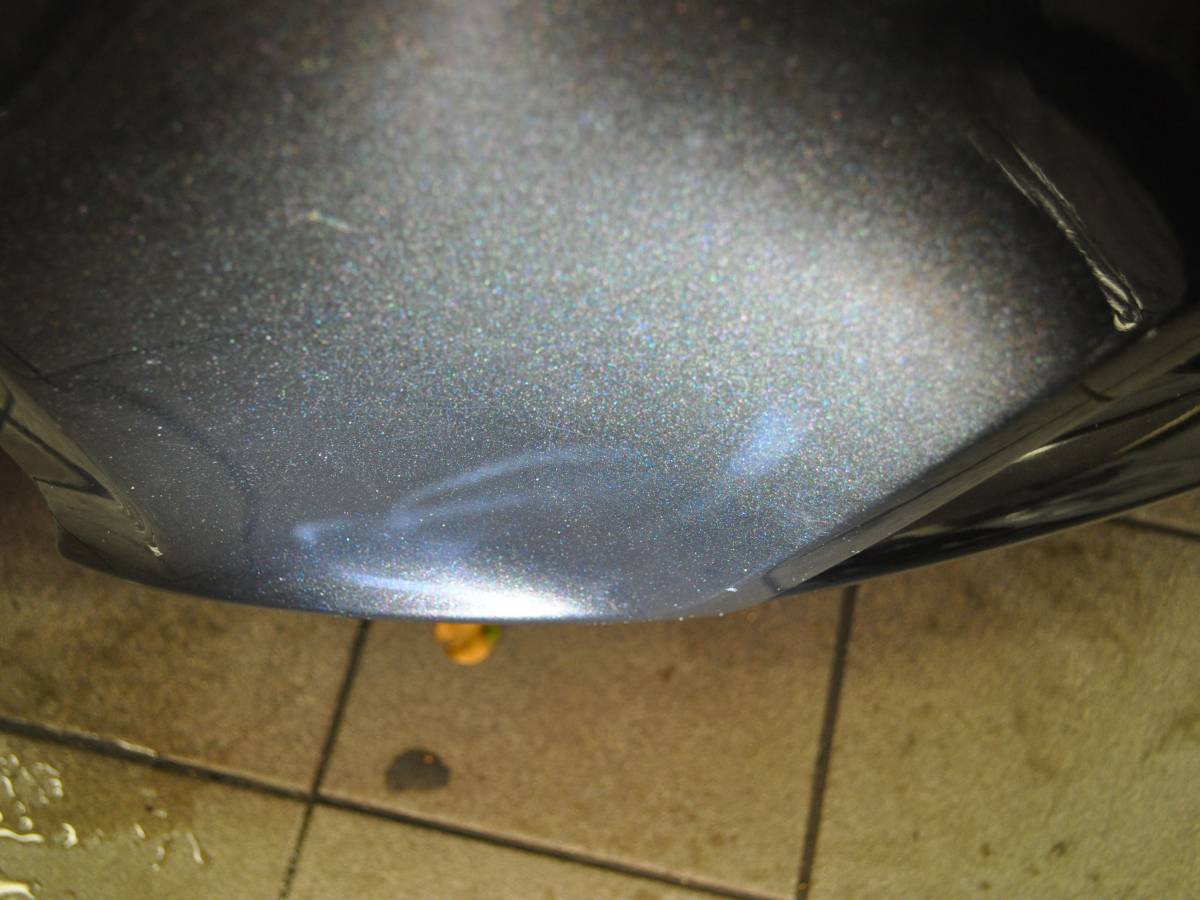
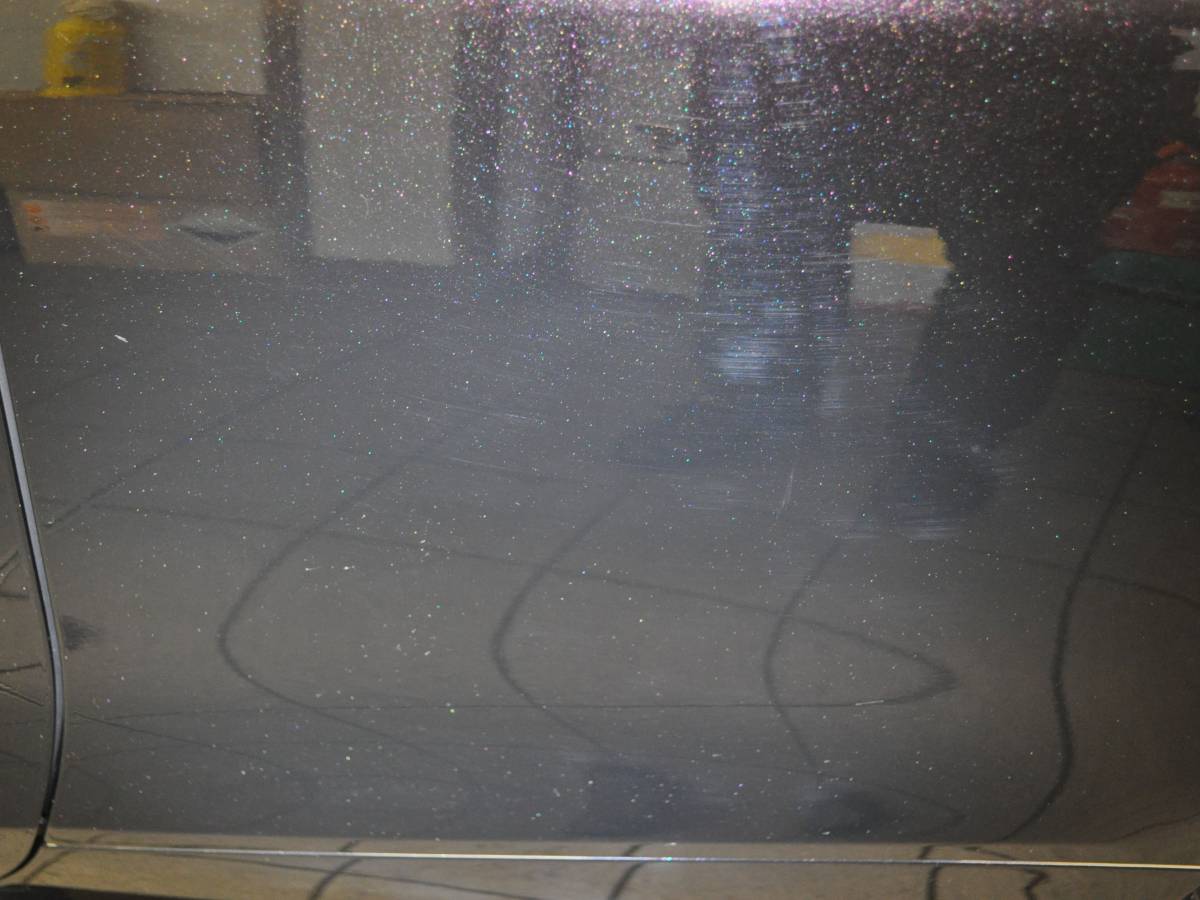
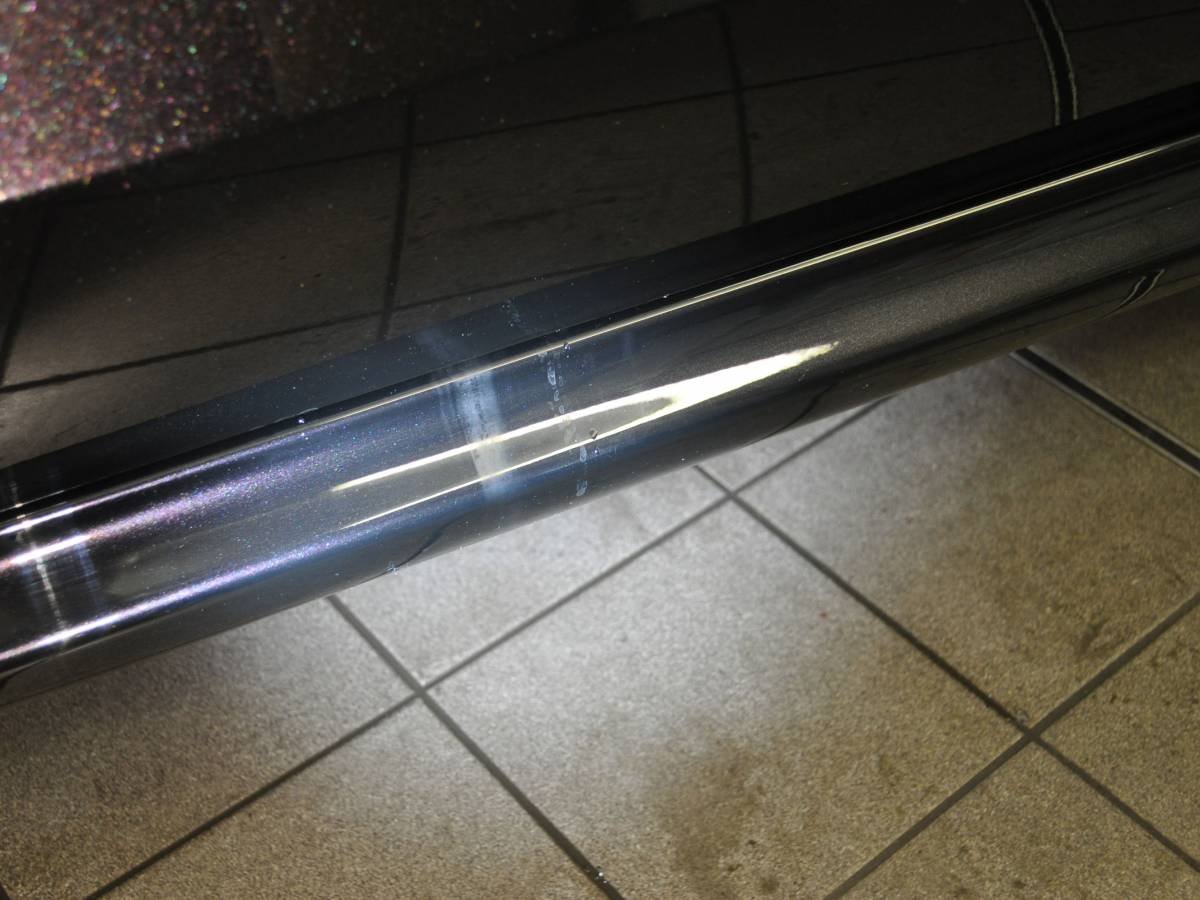
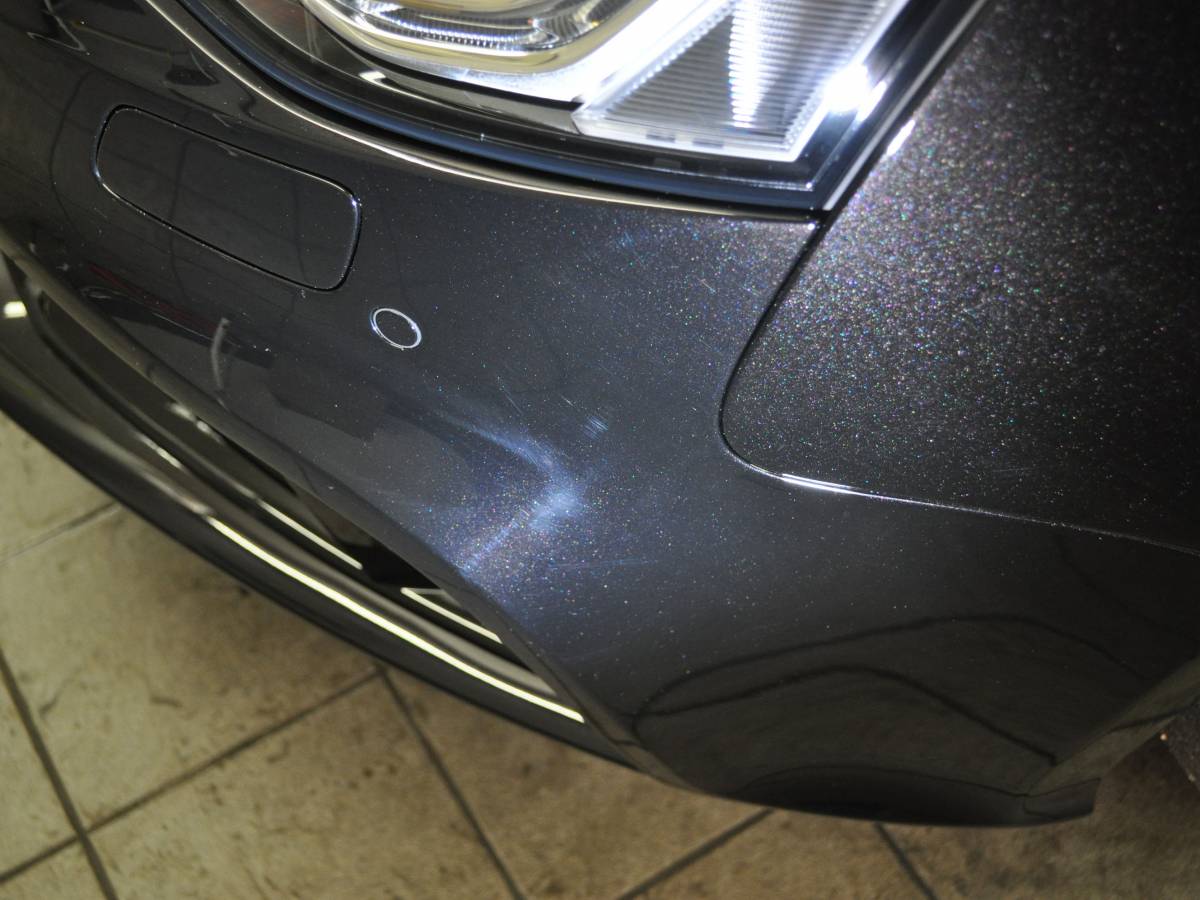
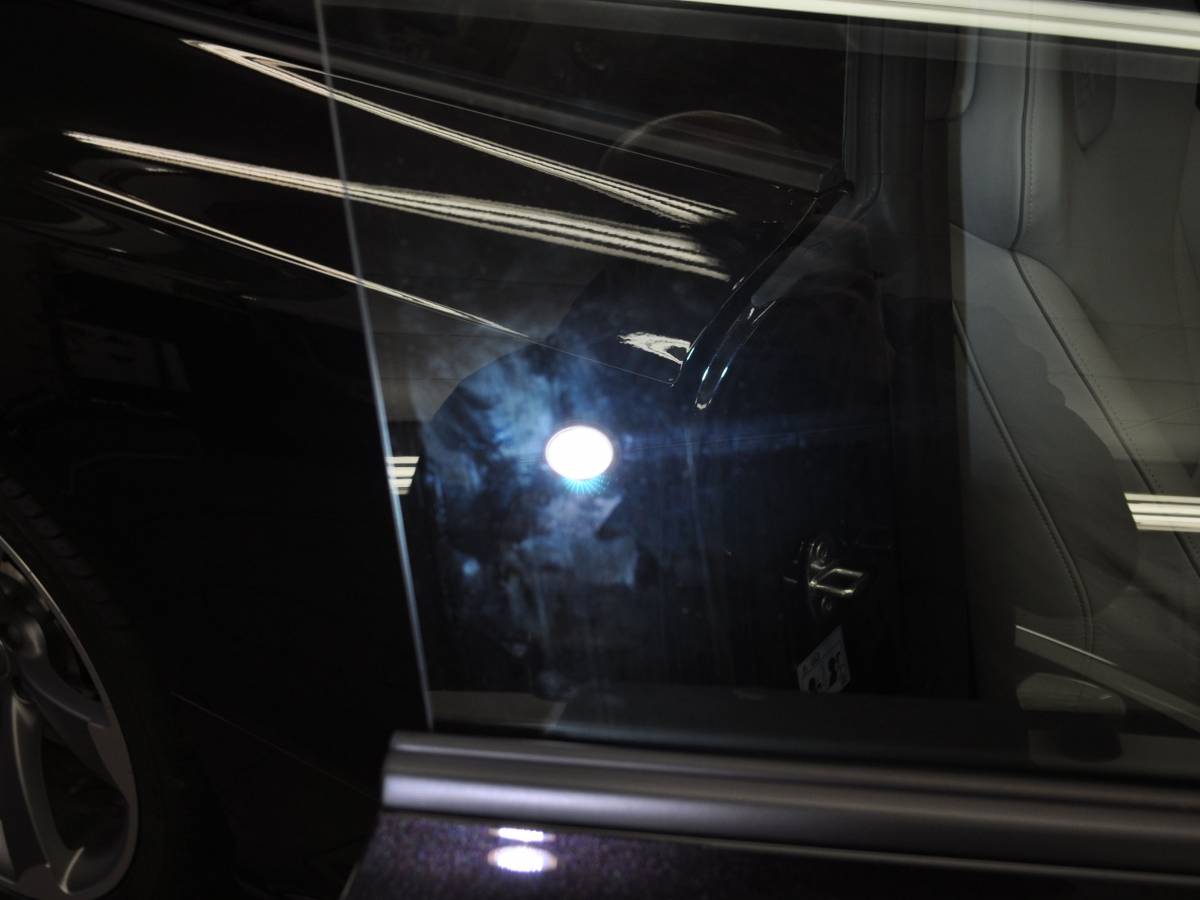
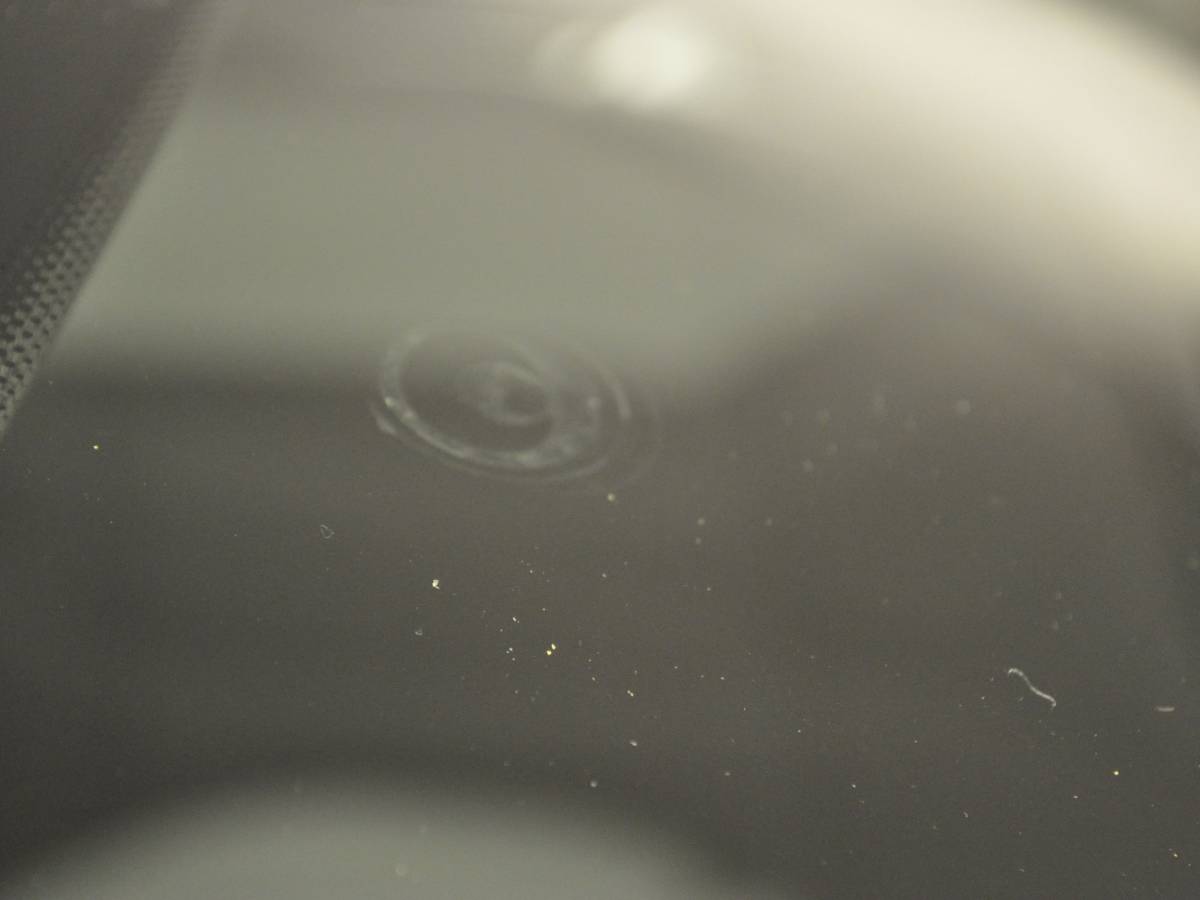
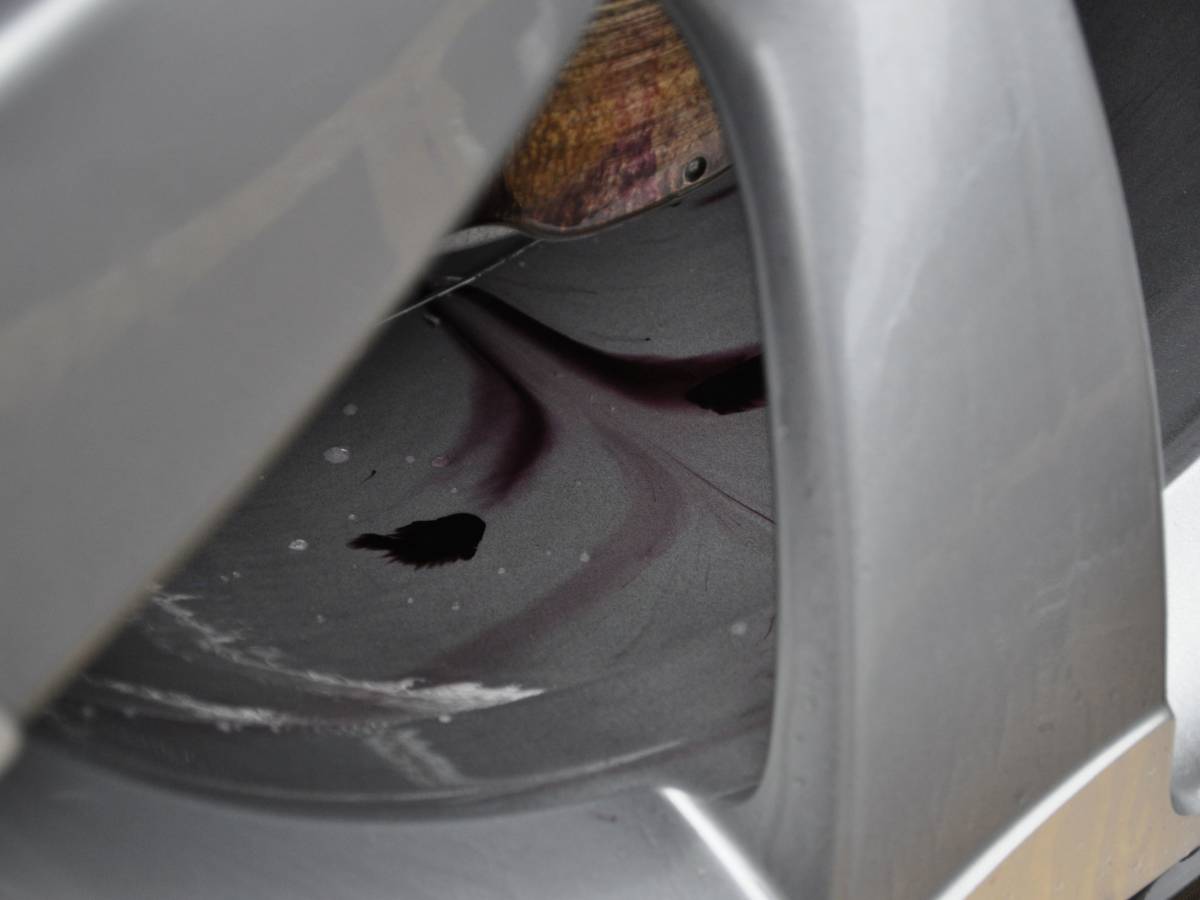
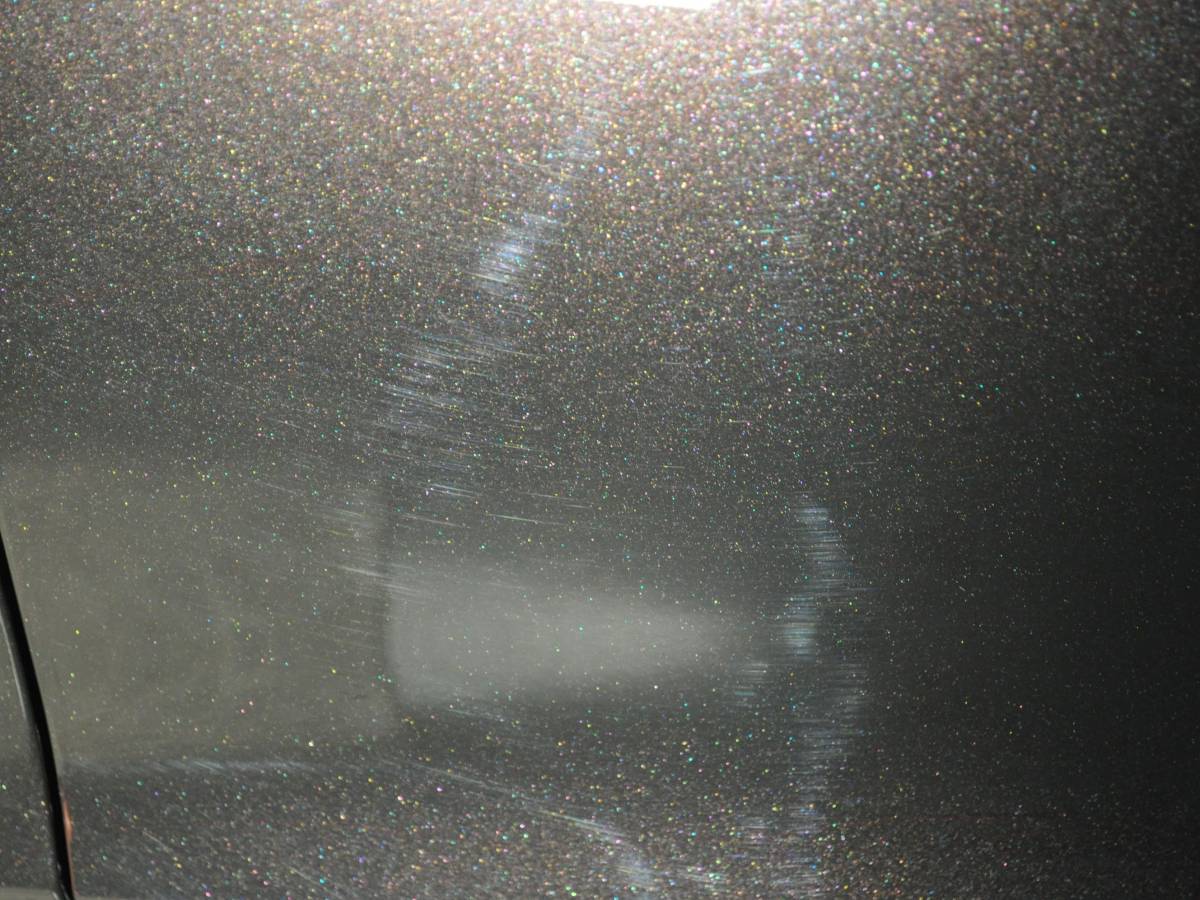
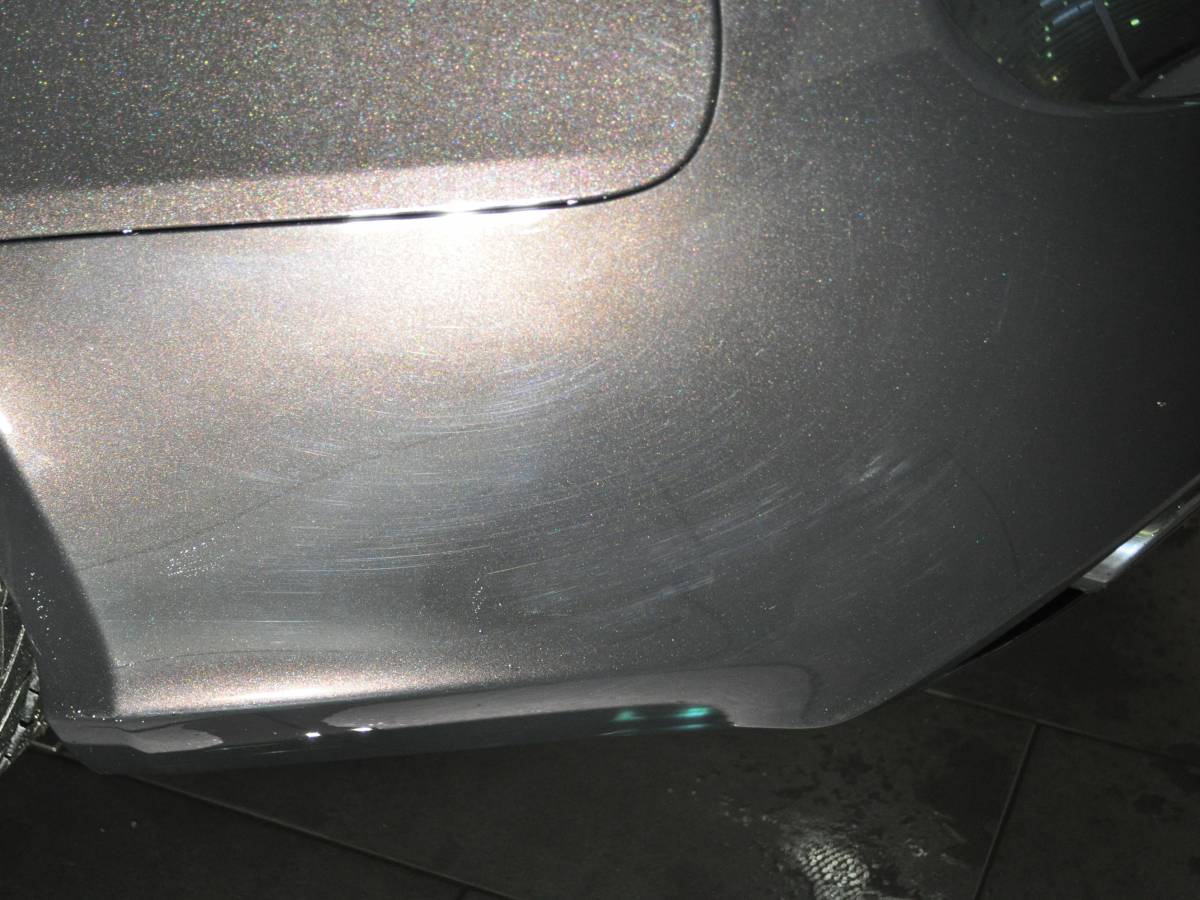
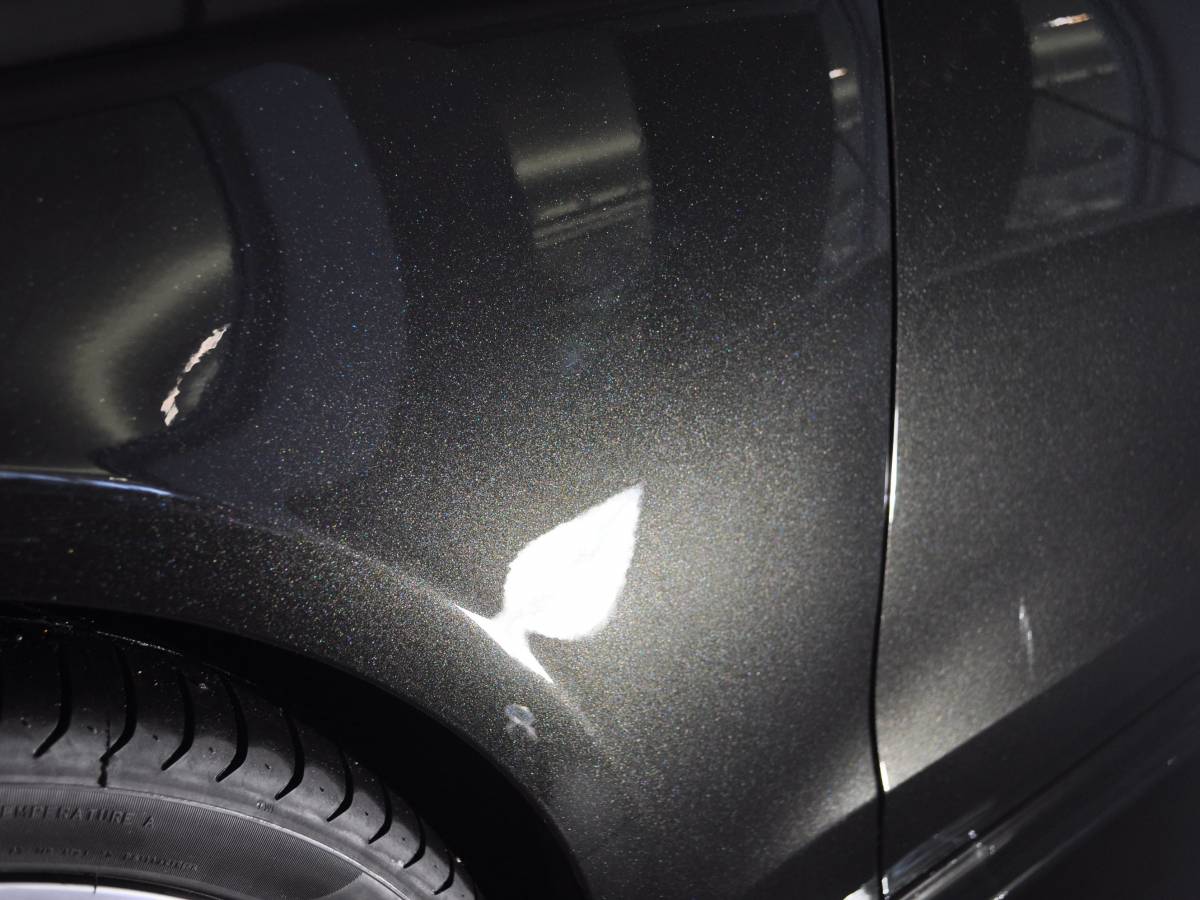
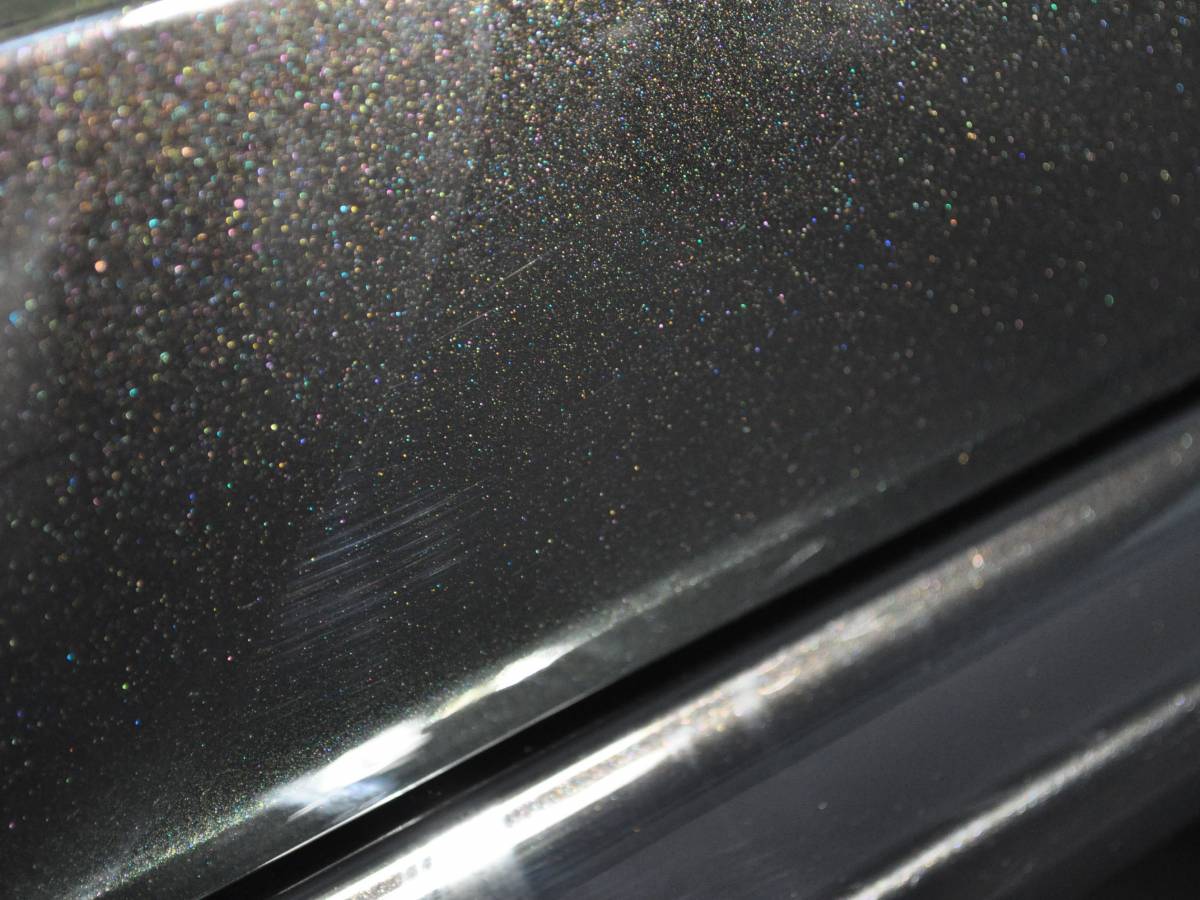
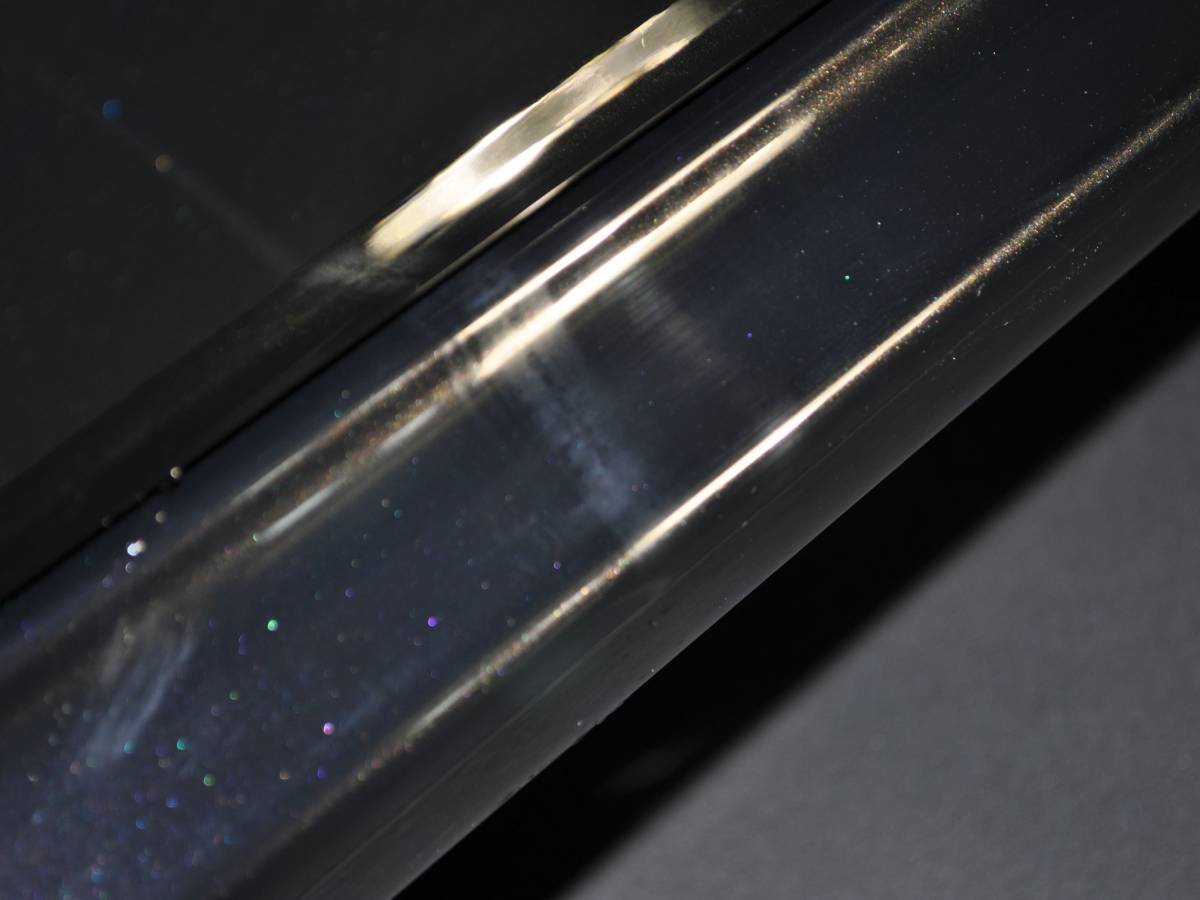
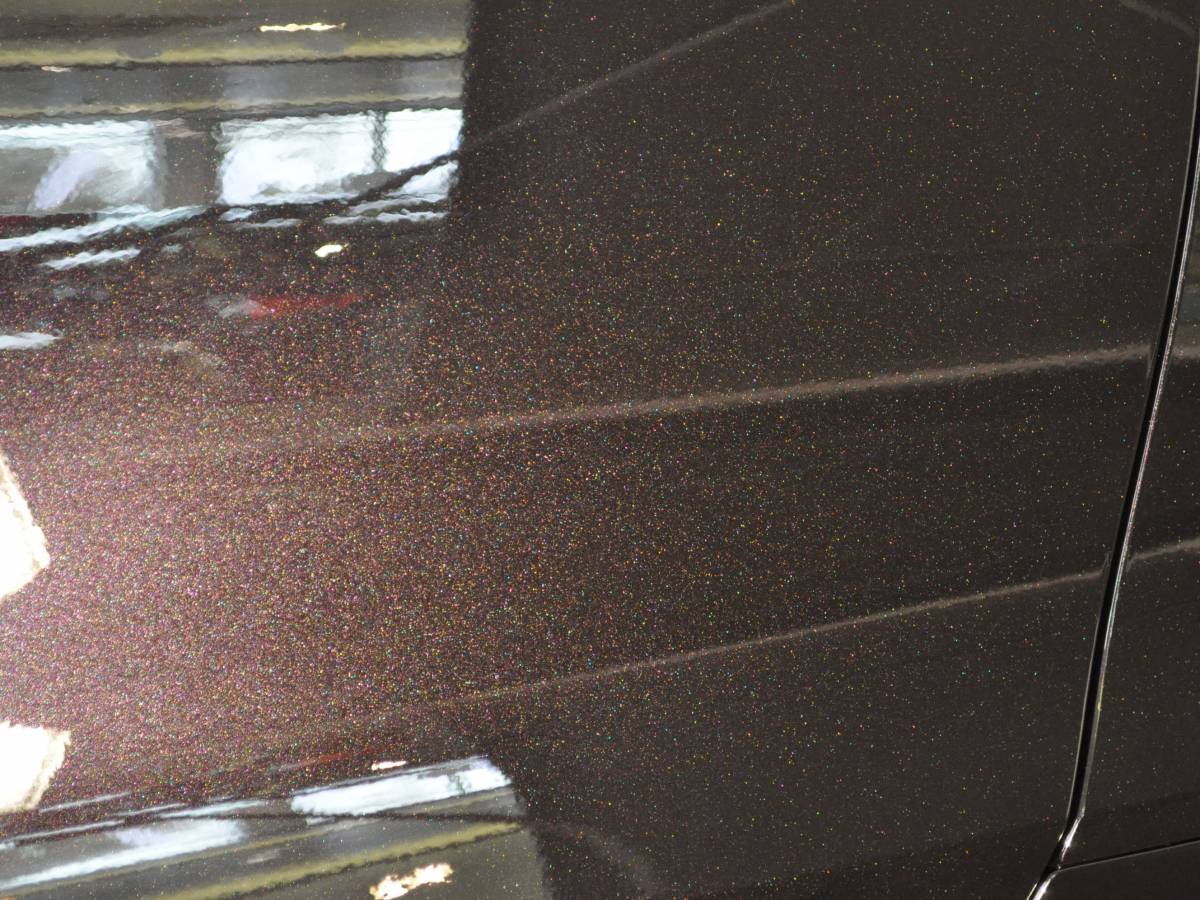
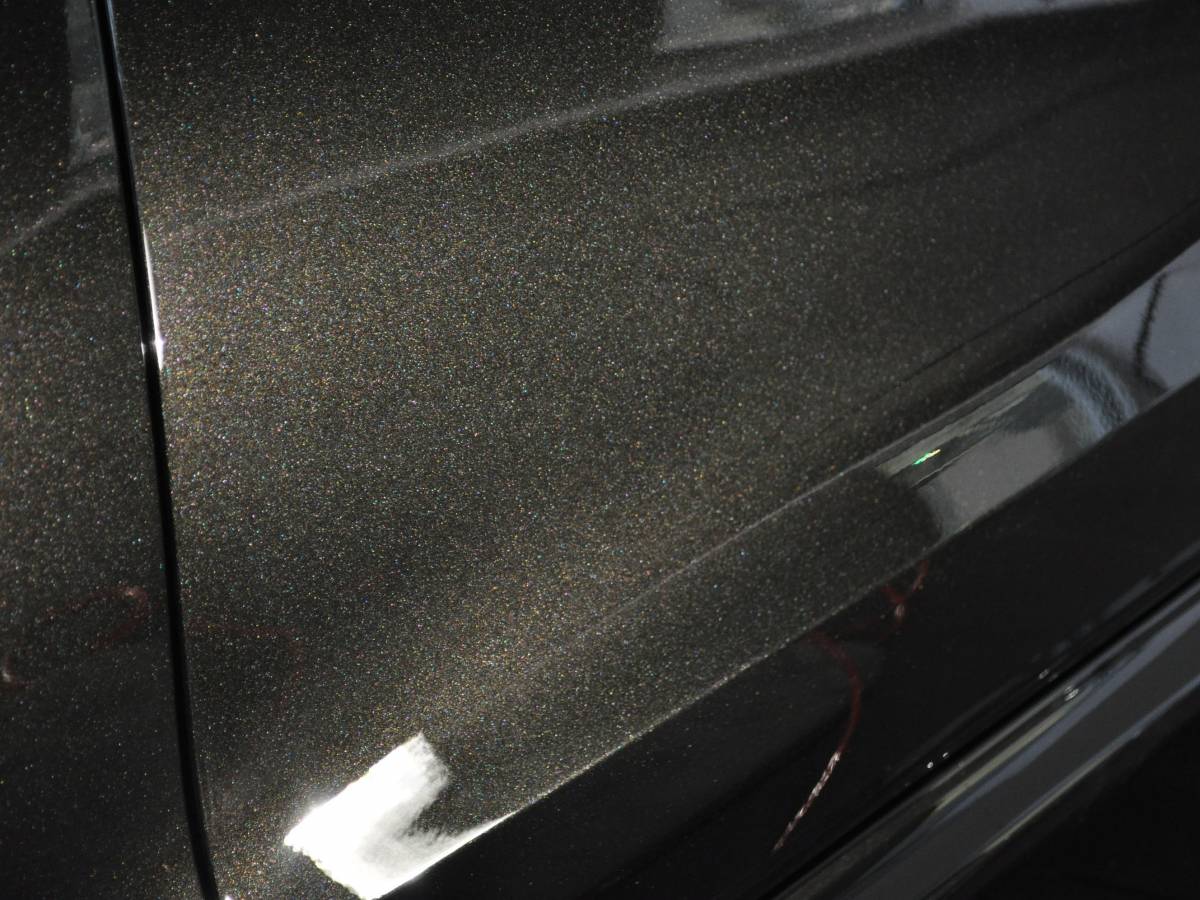
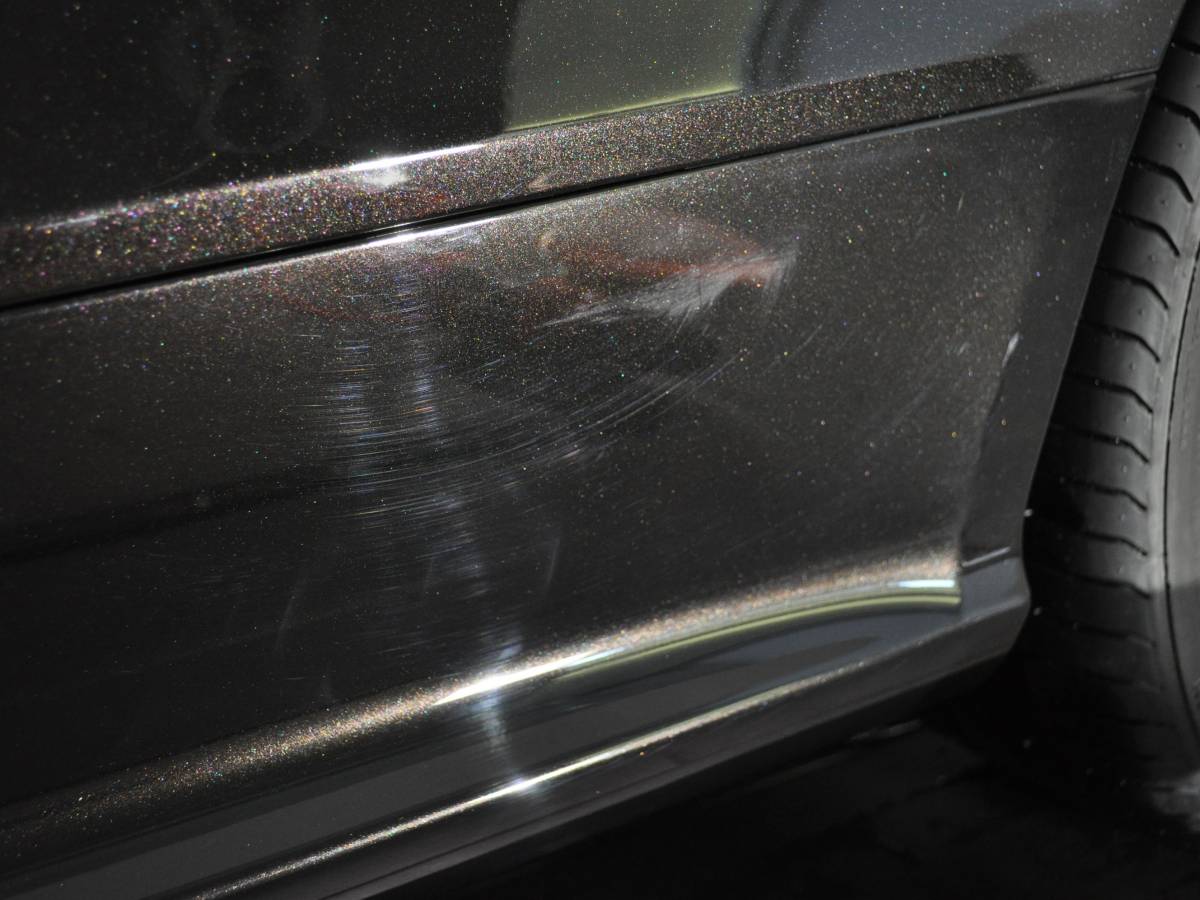
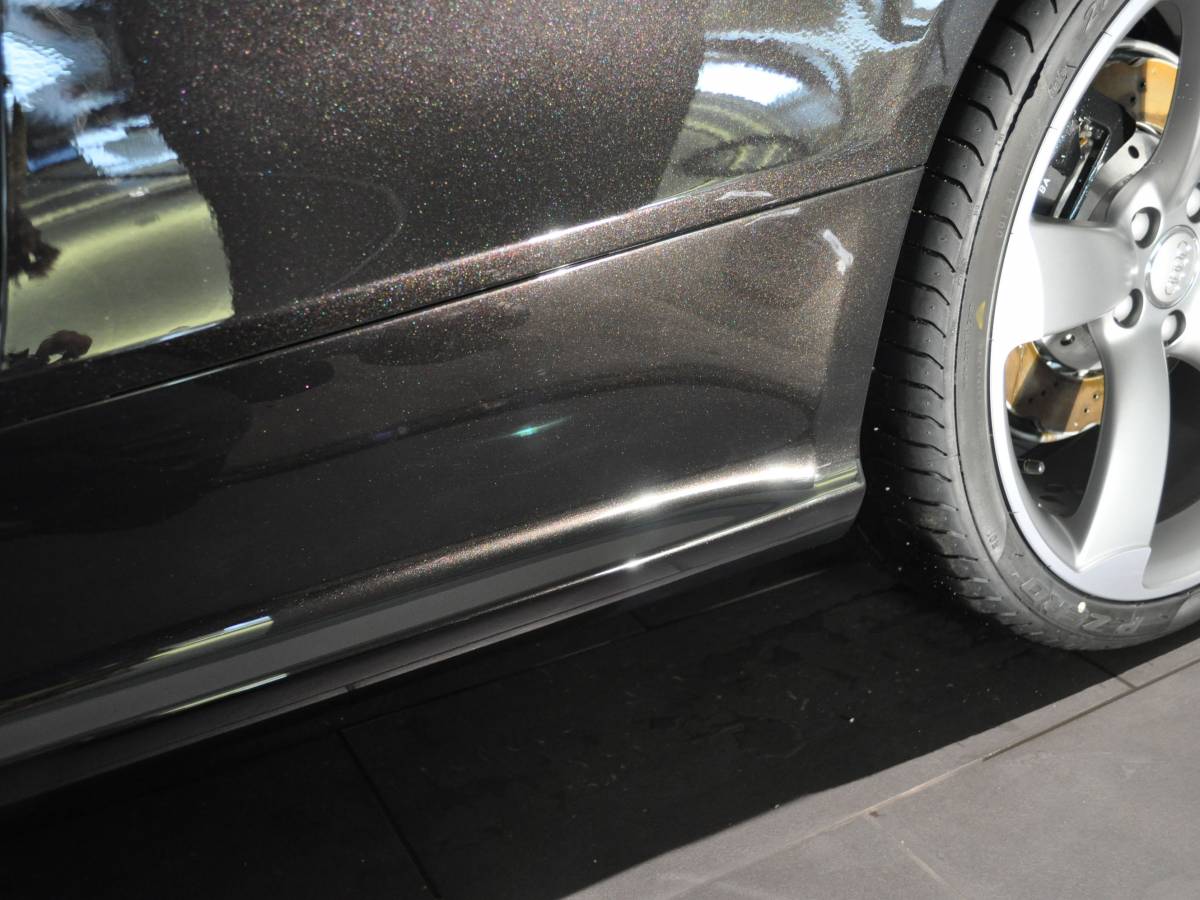
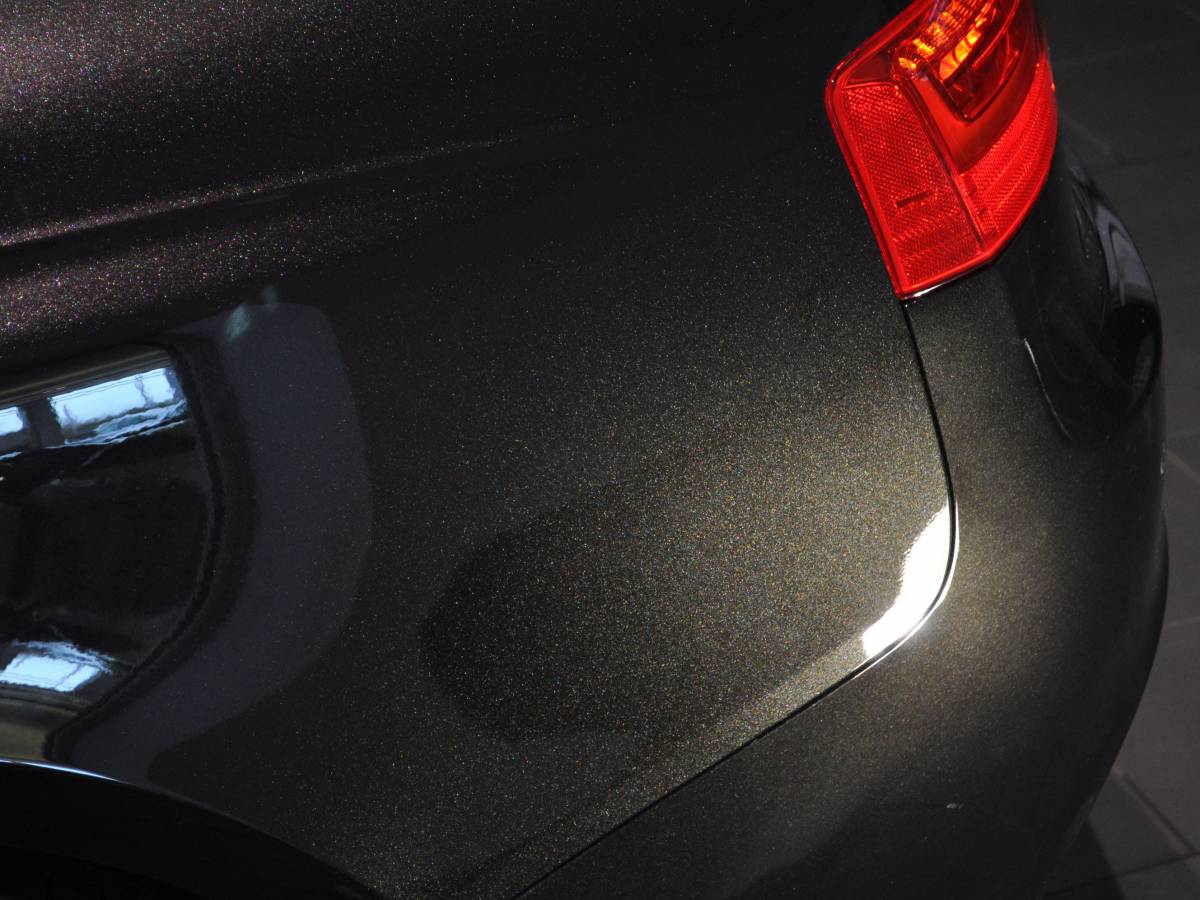
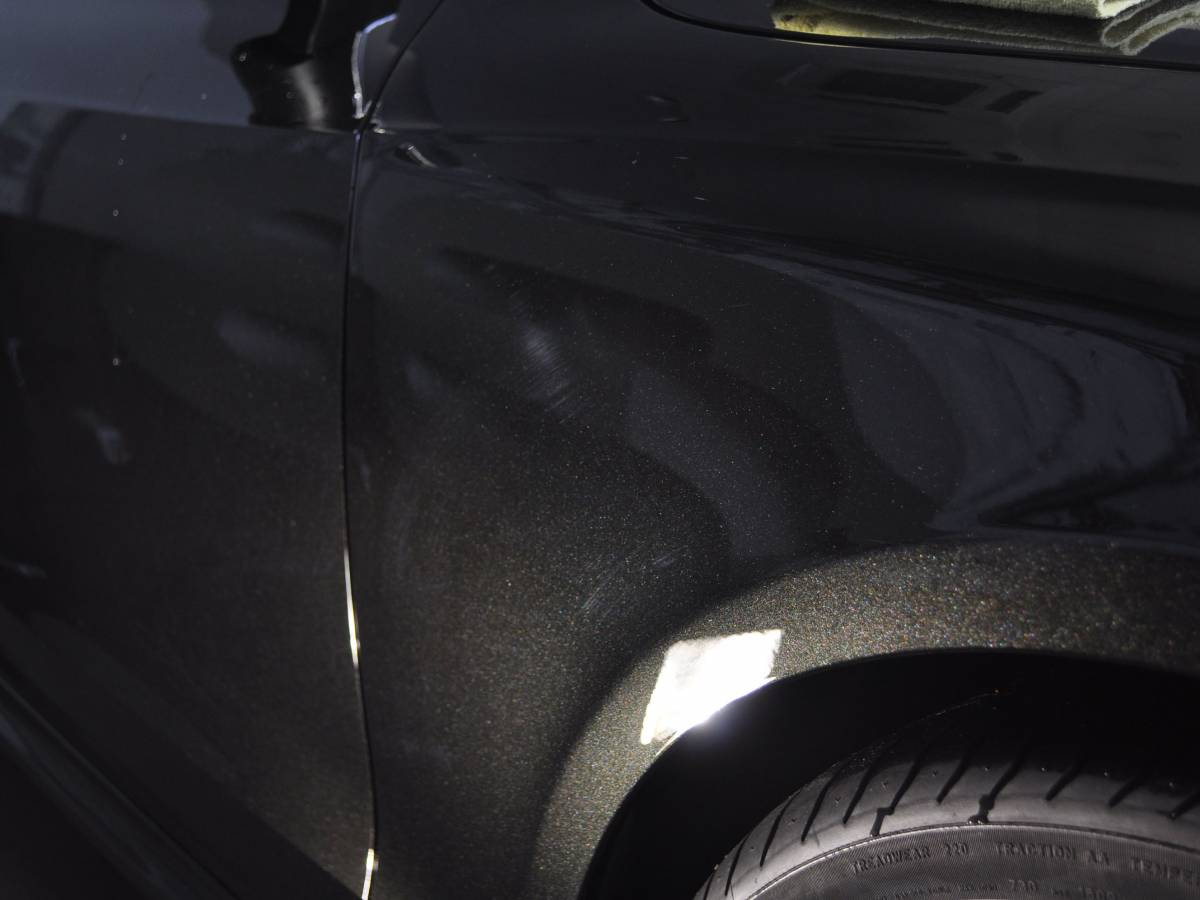
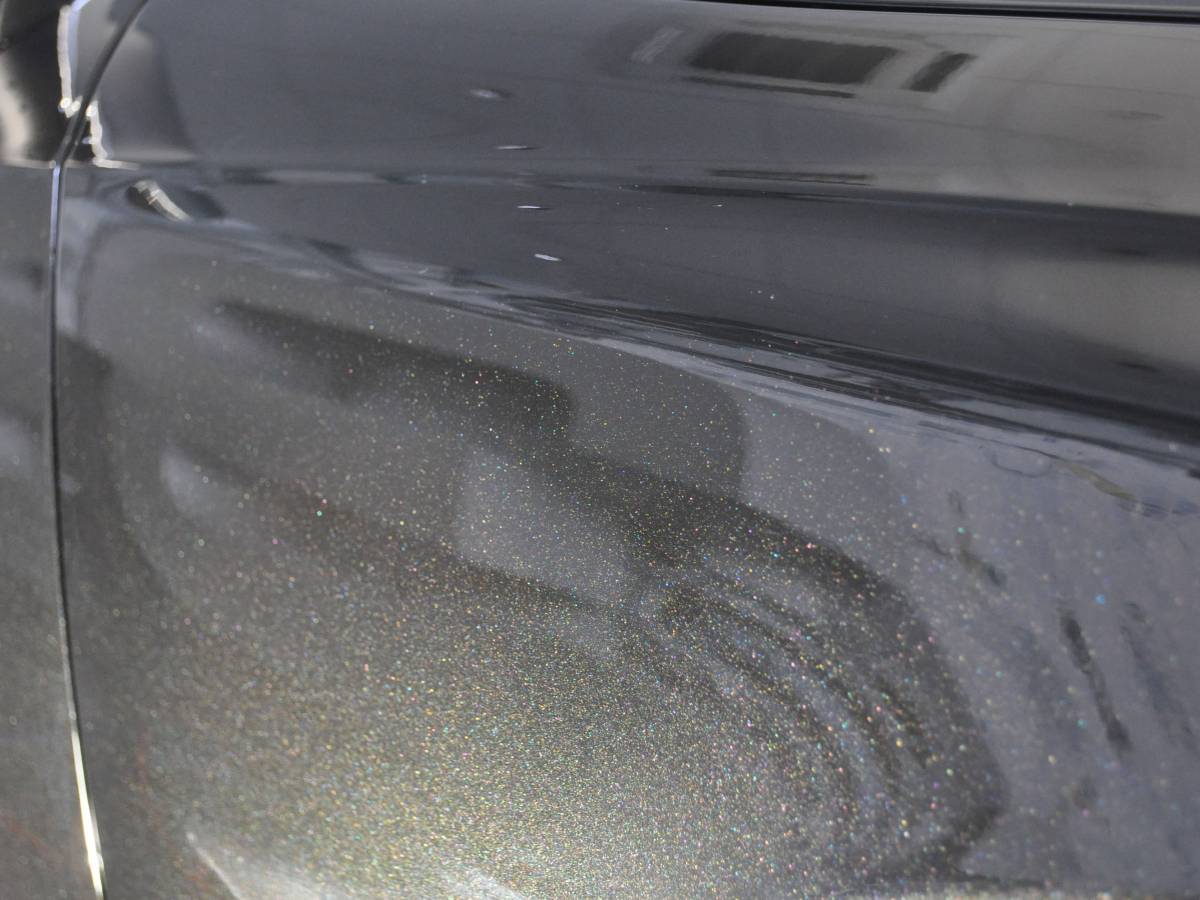
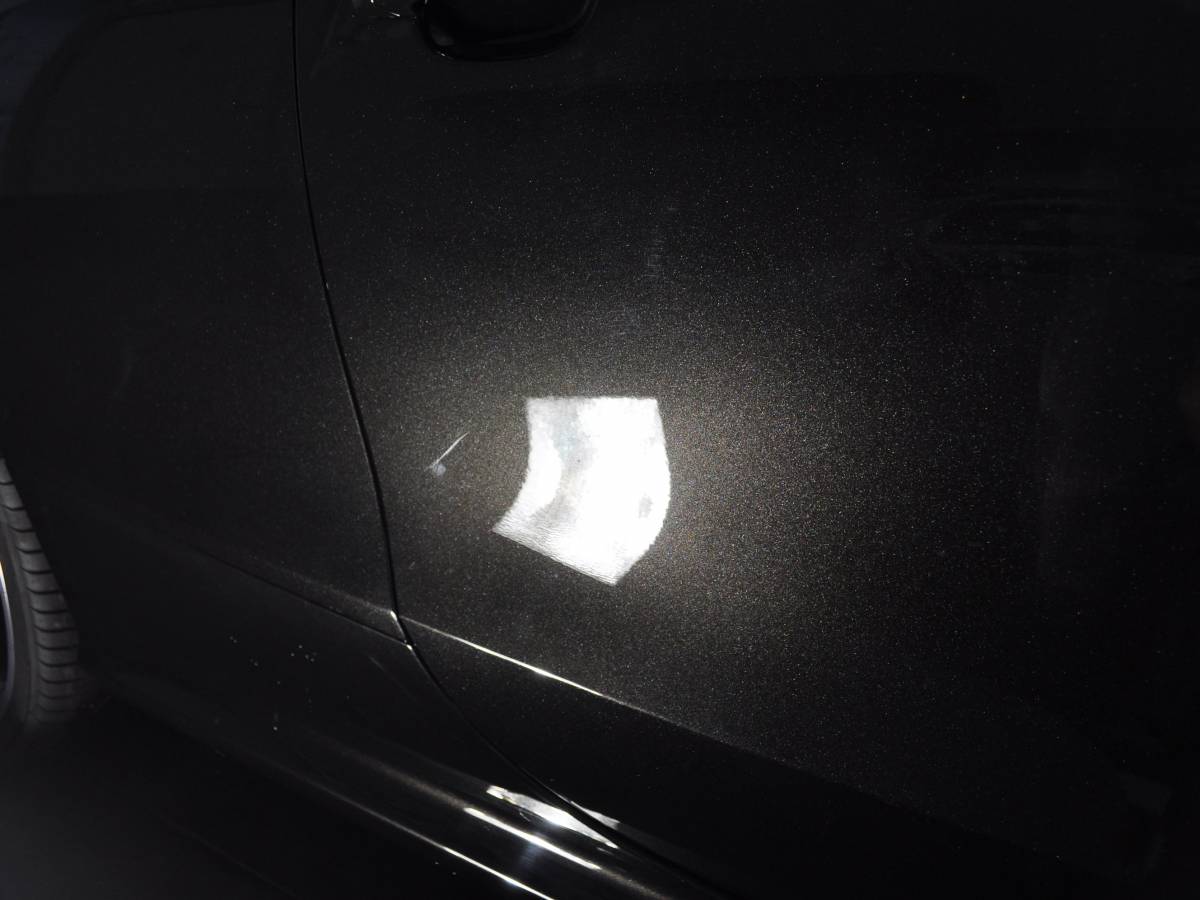
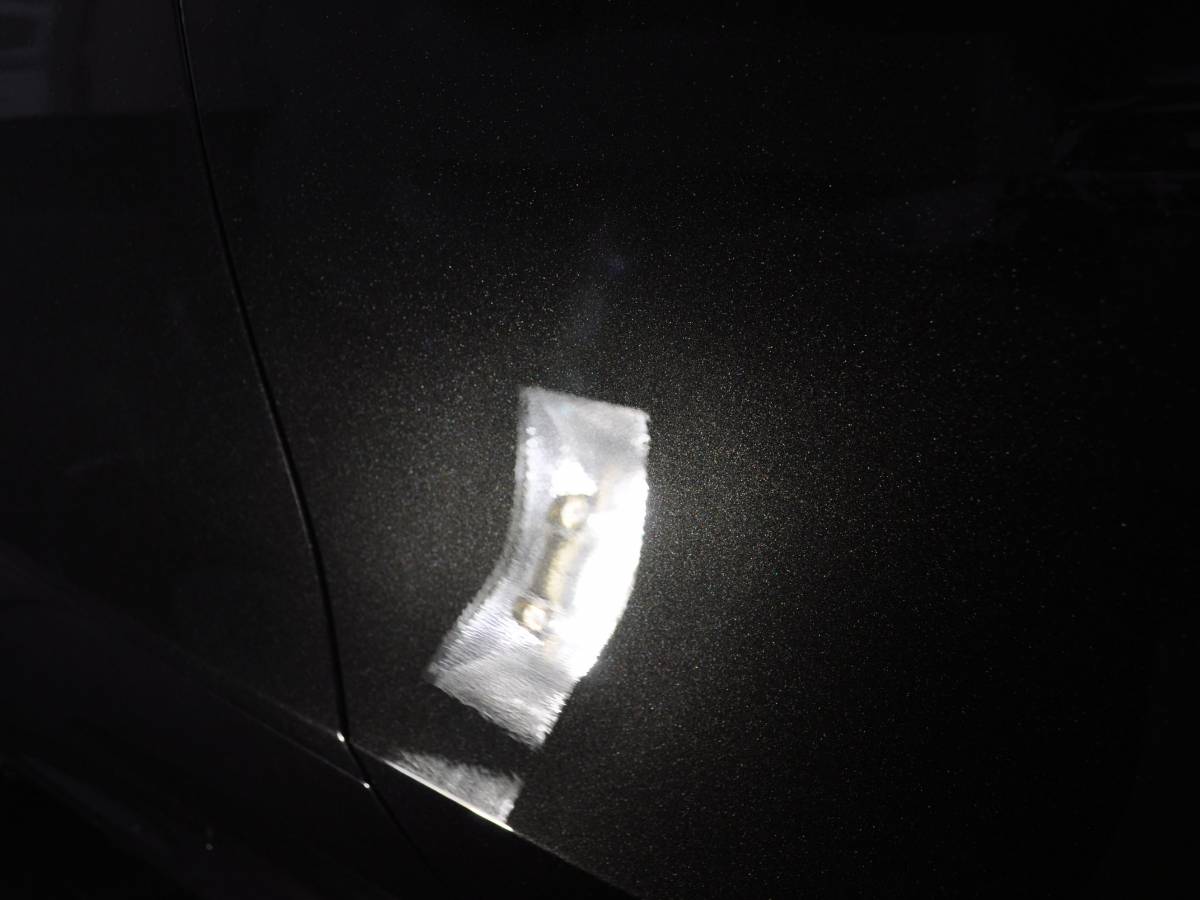
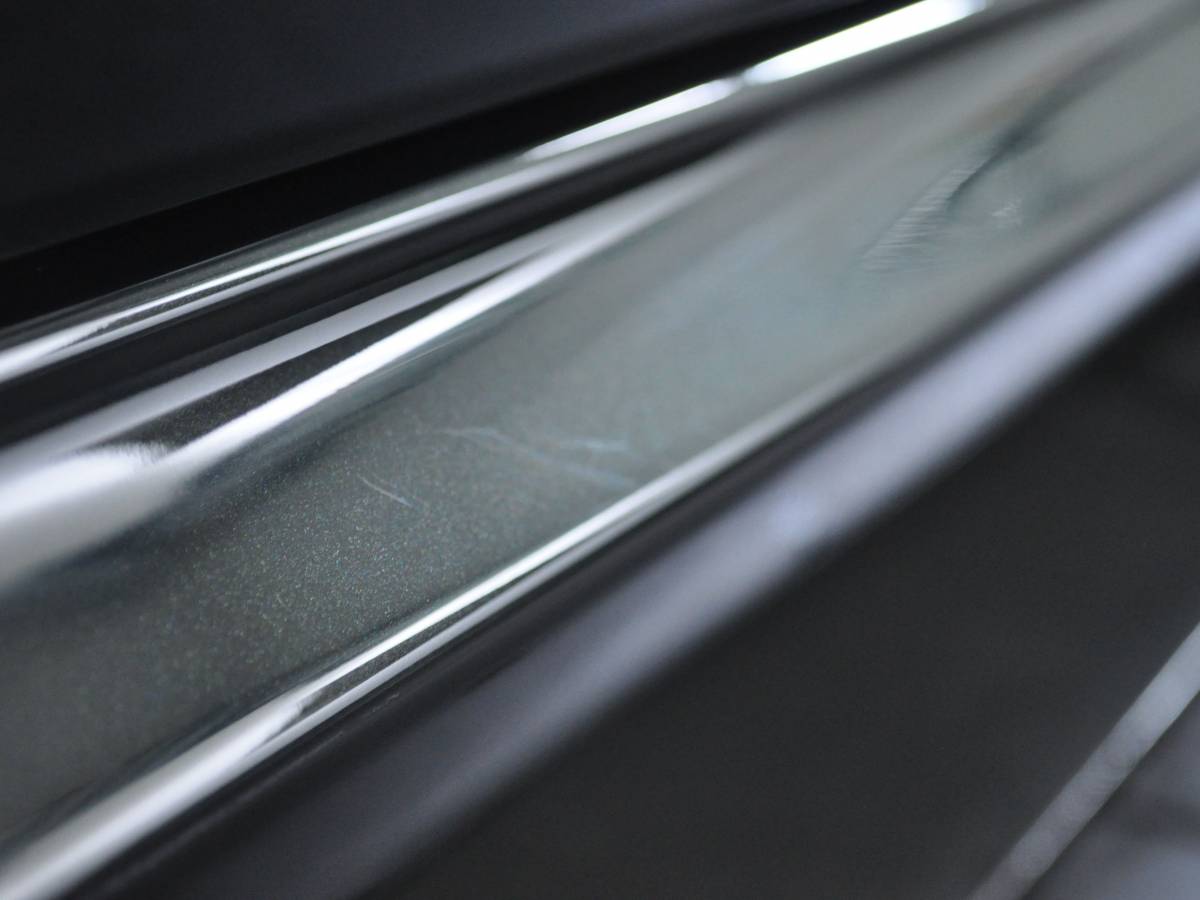
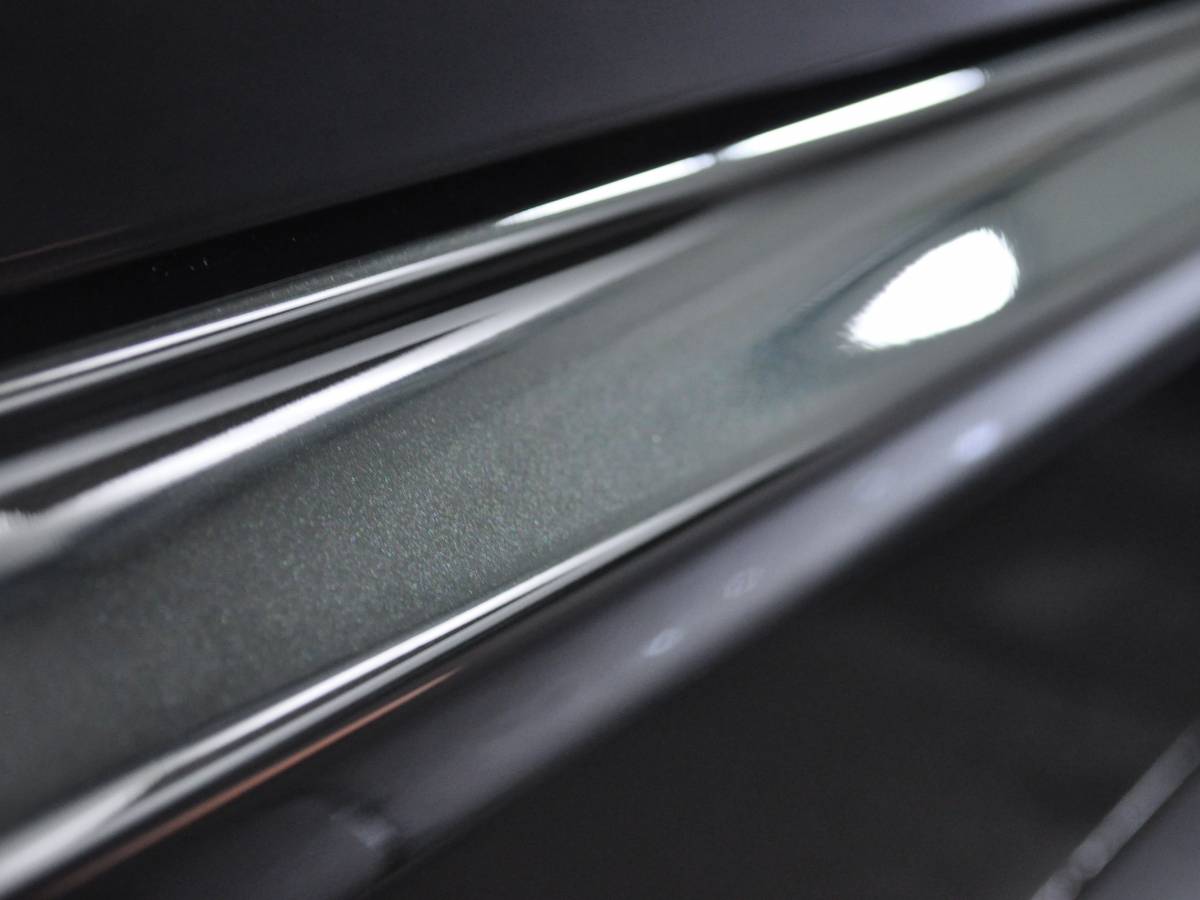
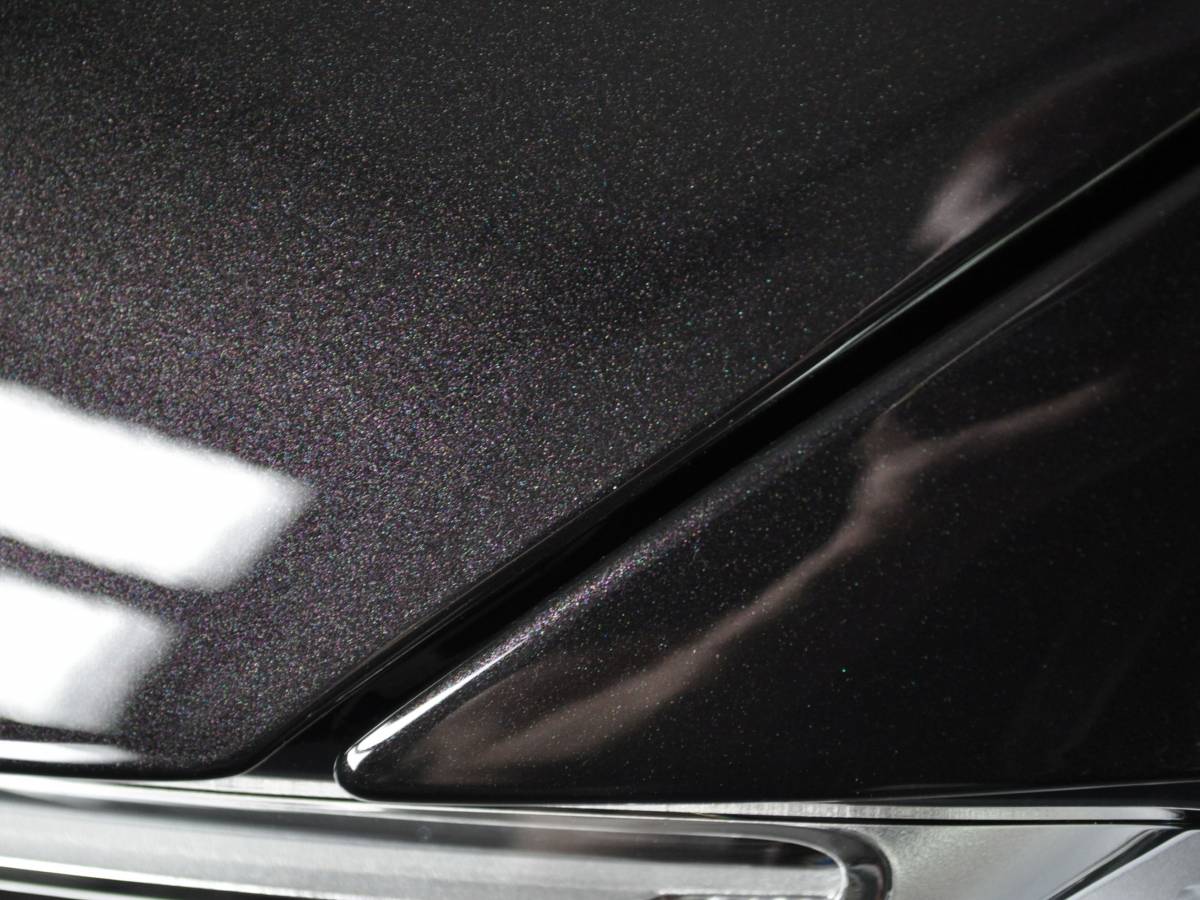
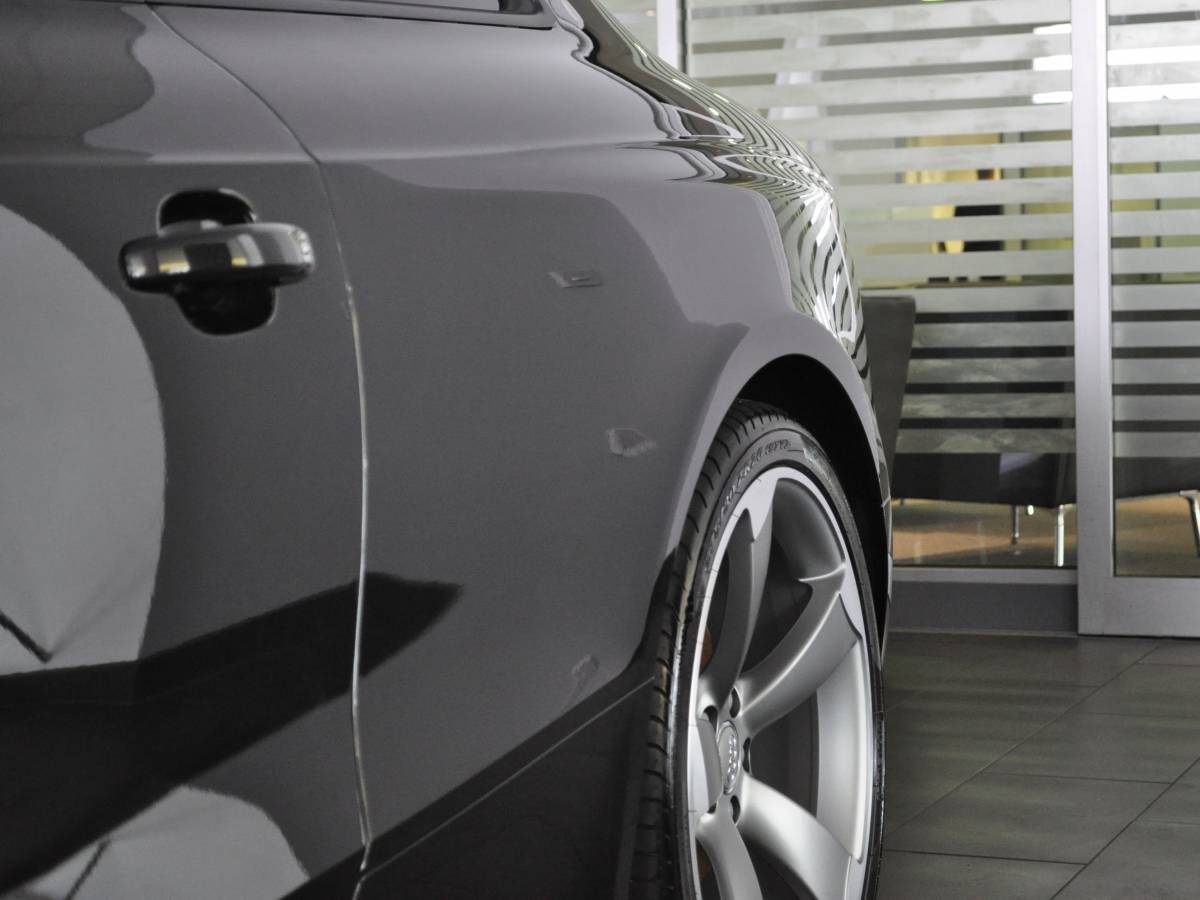
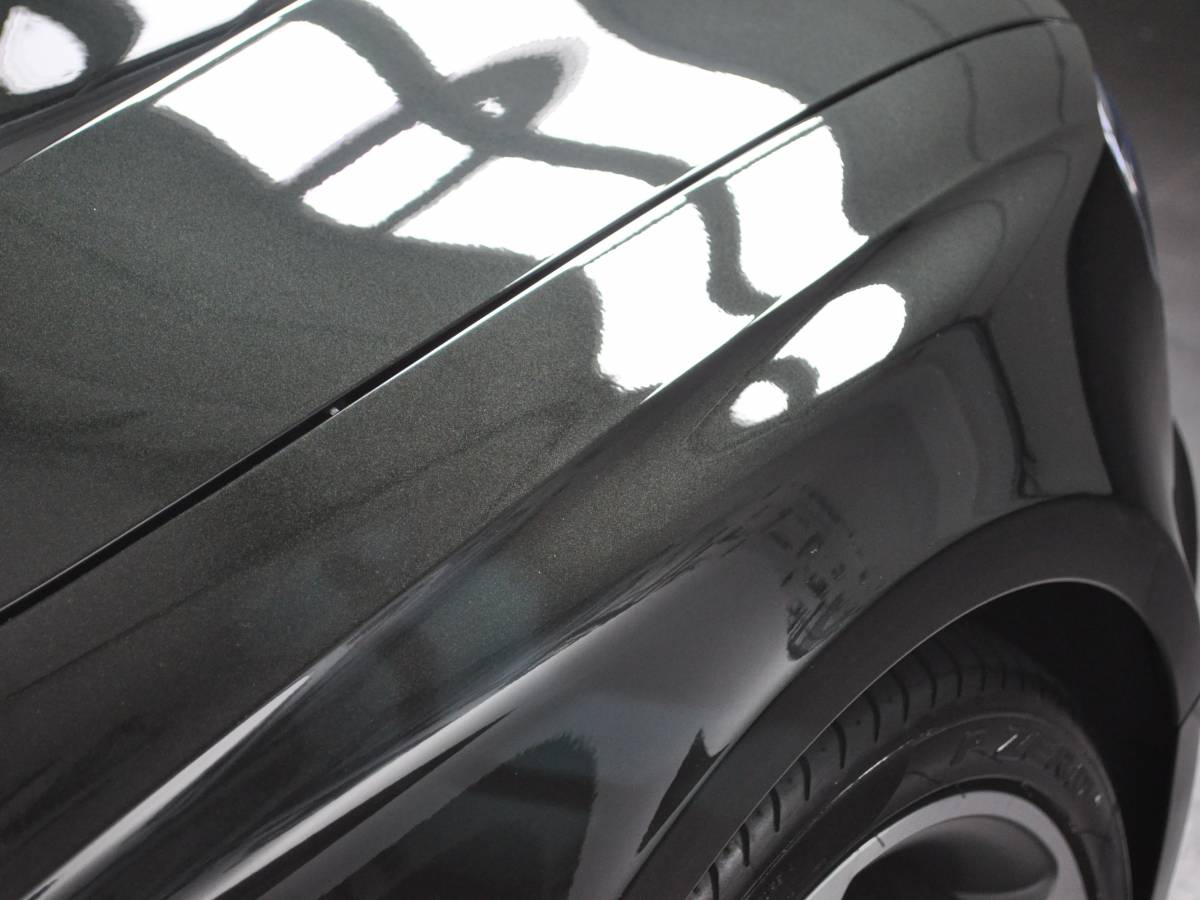
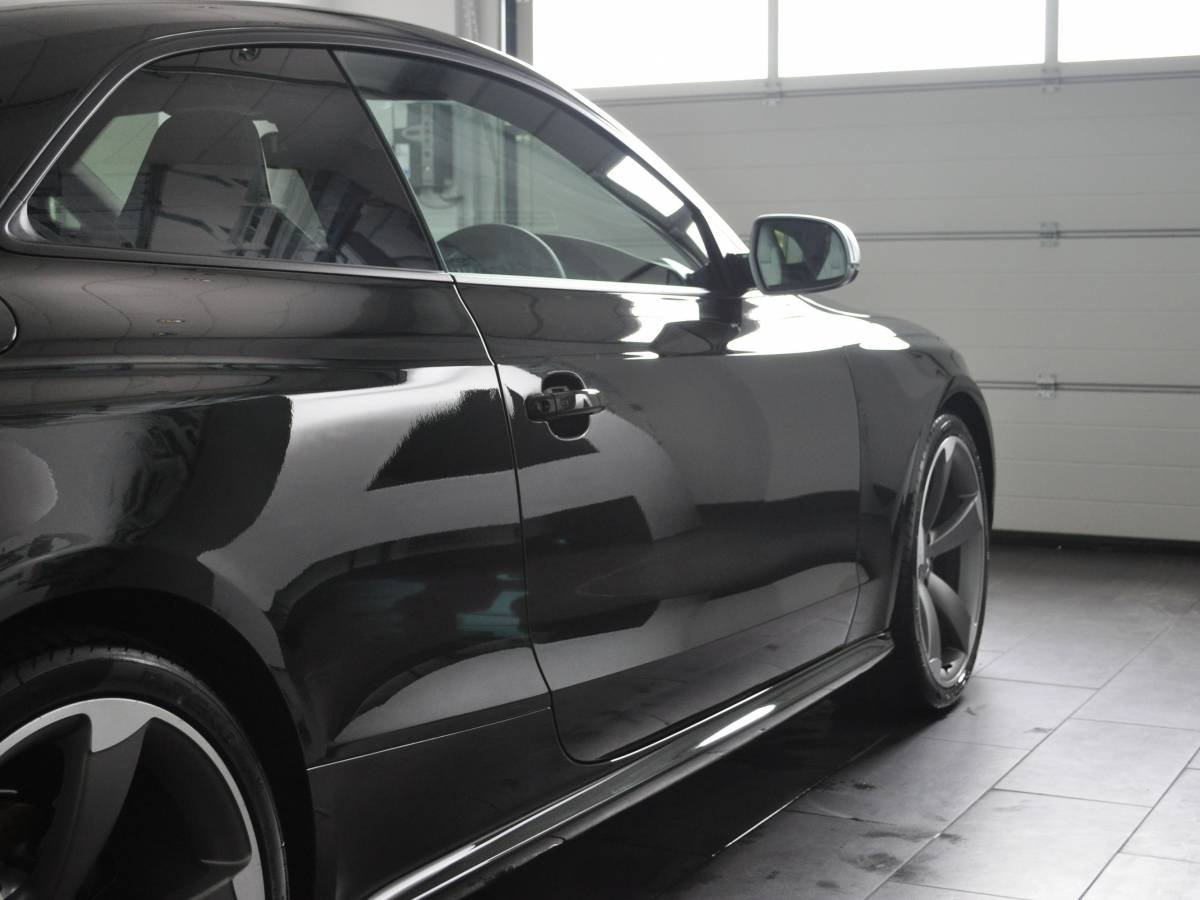
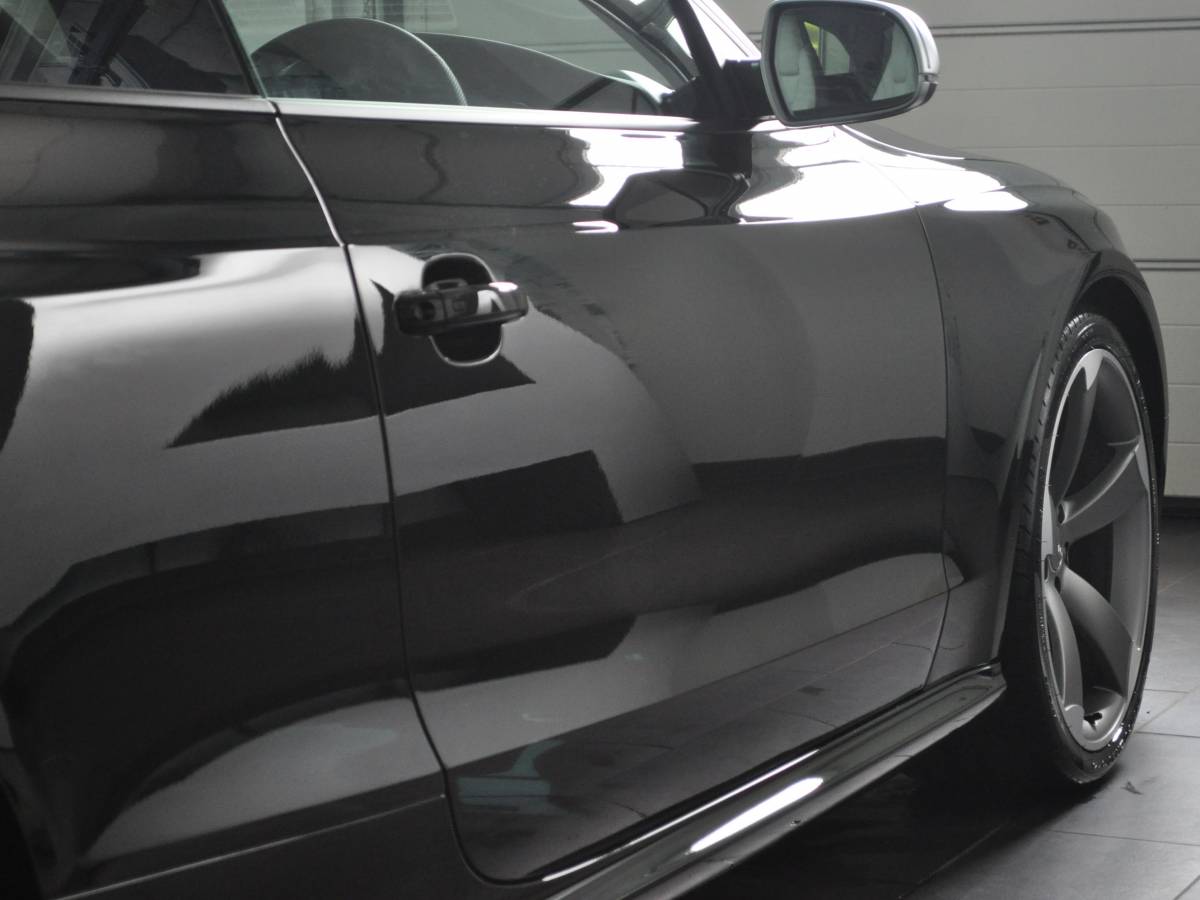
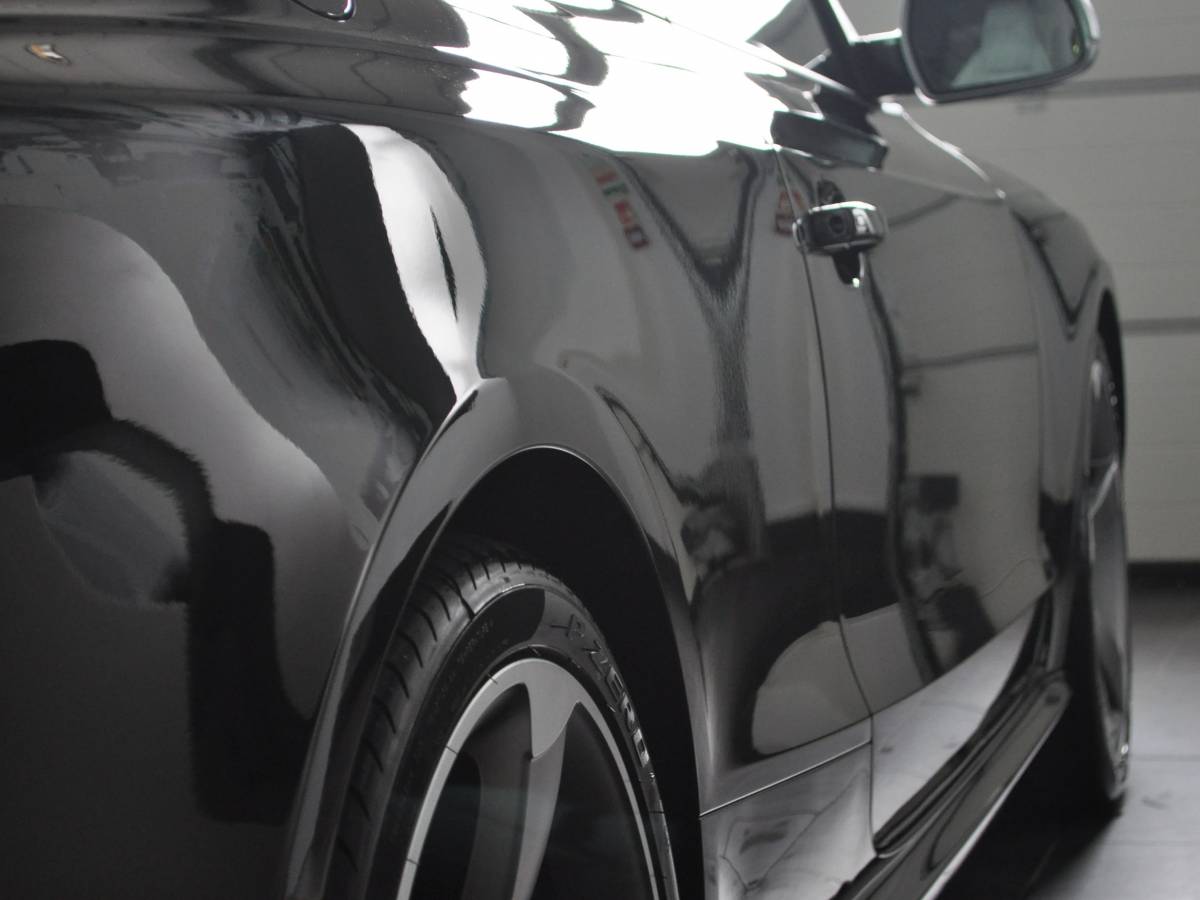
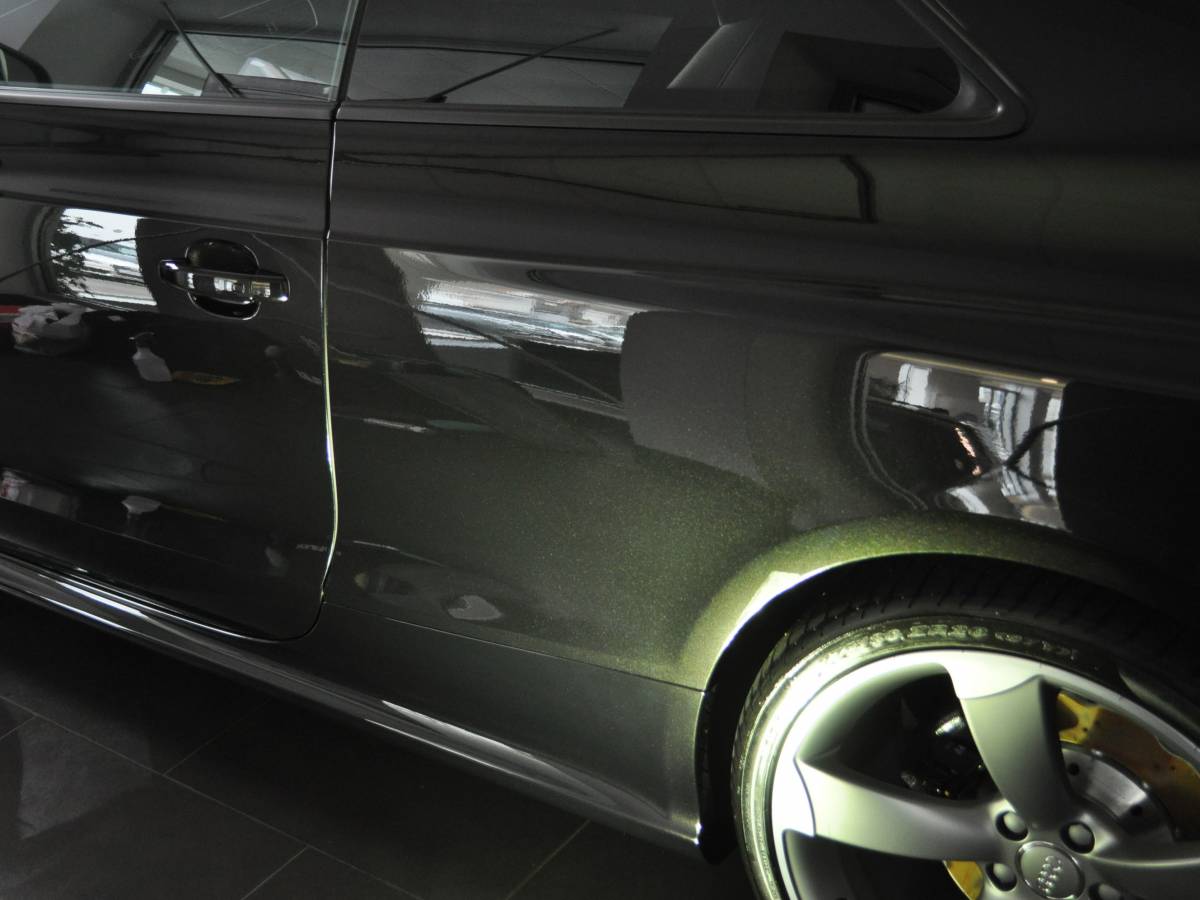
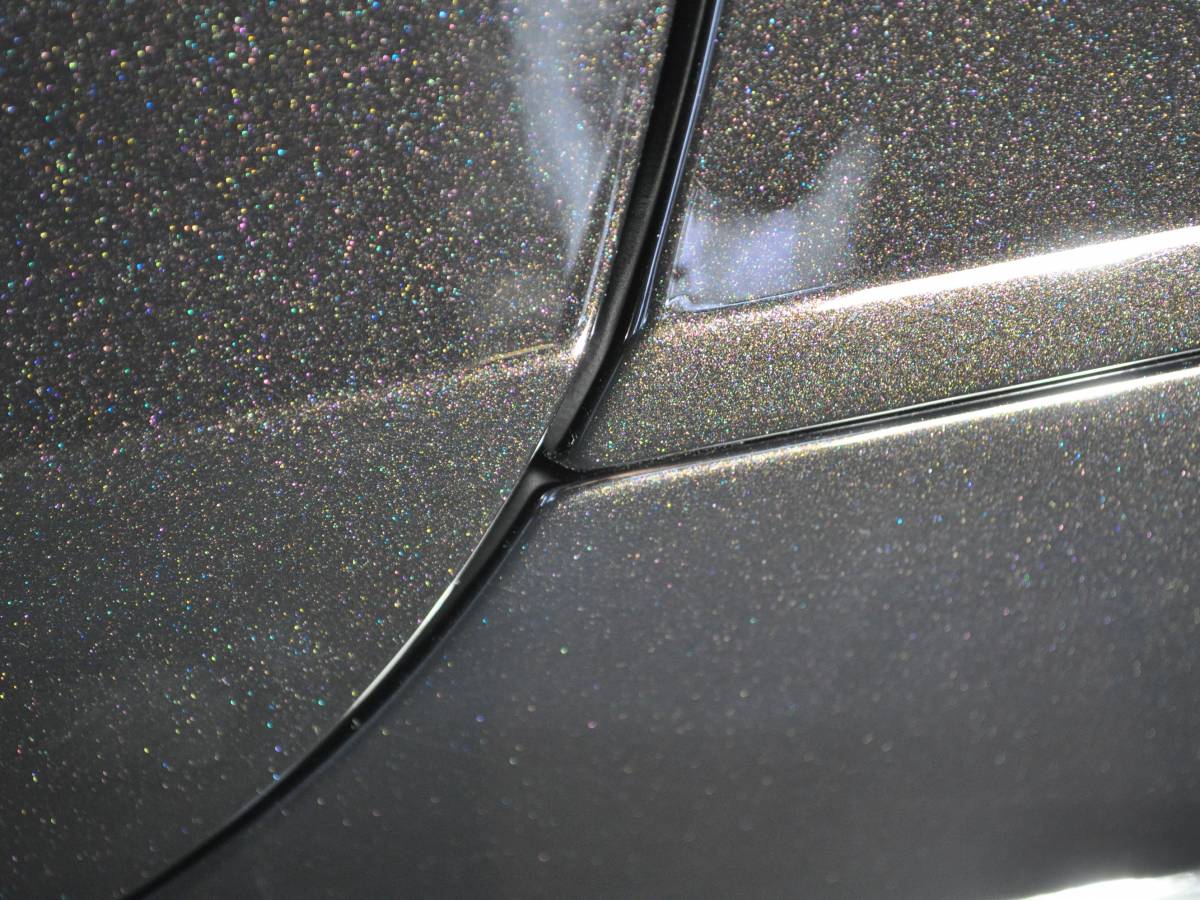
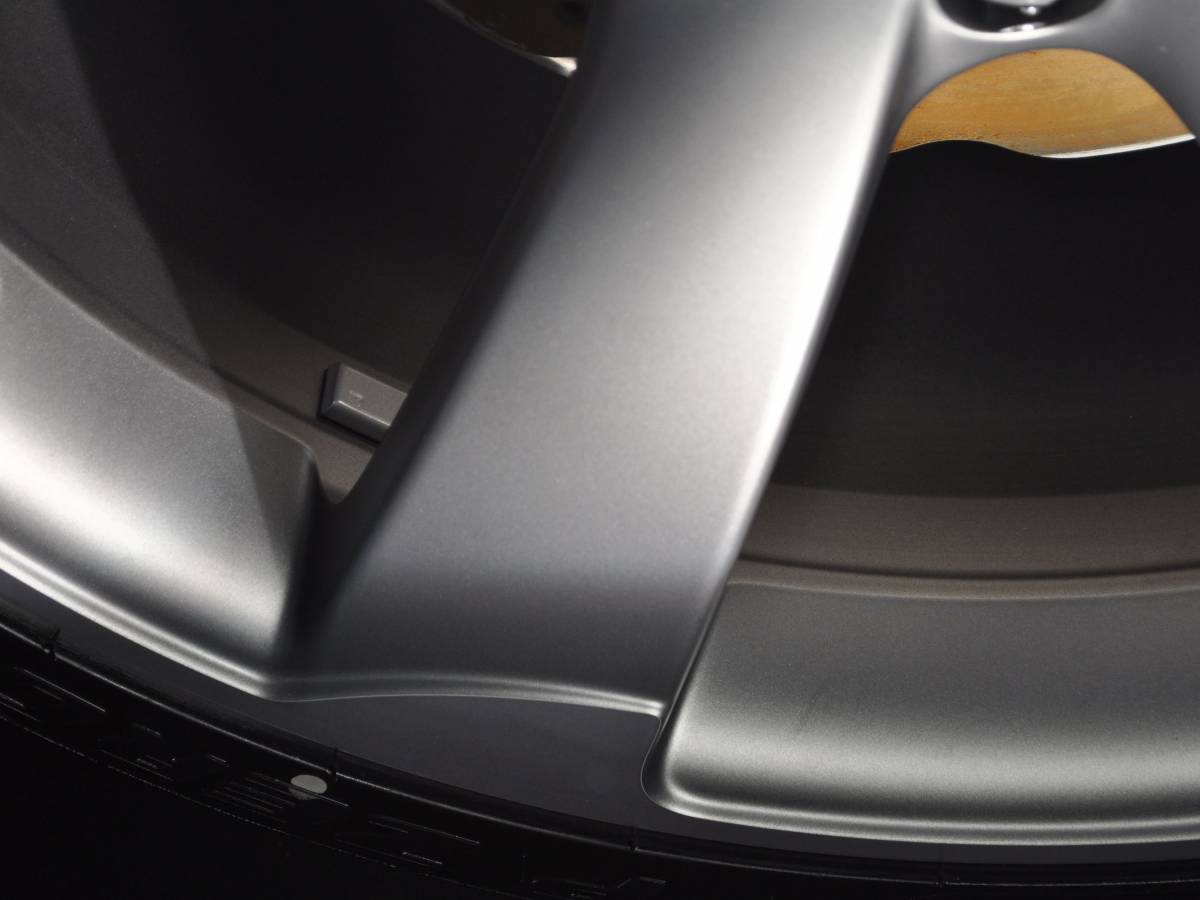
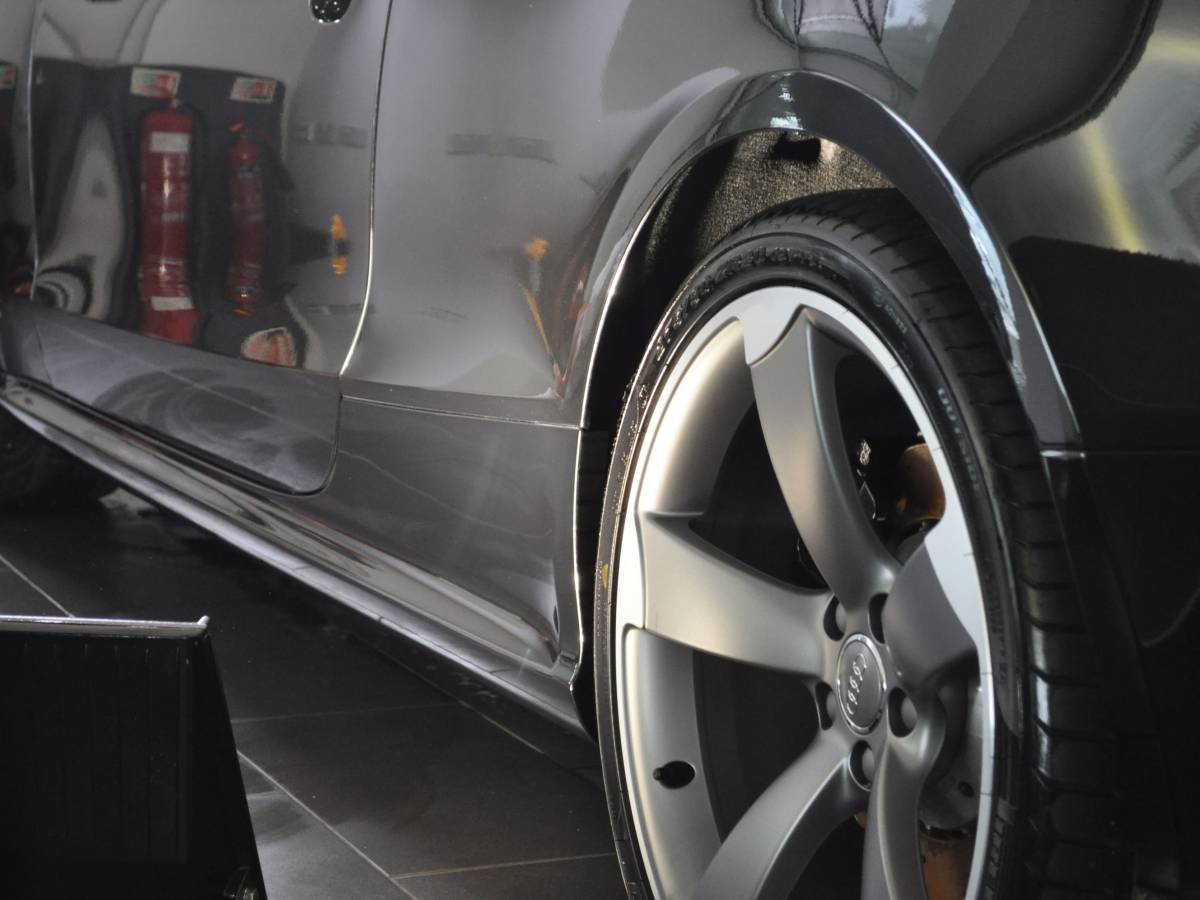
Unsurprisingly, the car had what we expected to see for a new car. Our 150 watt and 50 watt specially designed lighting set up gave the scratches no place to hide. It’s the ultimate test for any car paintwork, there’s no hiding under these light sources, especially when correcting defects too. Every panel we inspected had defects. Some were the norm (wash marks and factory defects) and some were a mystery such as what appeared to be a chemical burn on the lower sill and deeper scratches elsewhere. For a brand new car with road test miles only, it was a shame to see the paintwork so bad. Every correction Dream Detail carries out is under these lighting sources, whether it be light colours or dark we set our lighting up accordingly to highlight these defects.
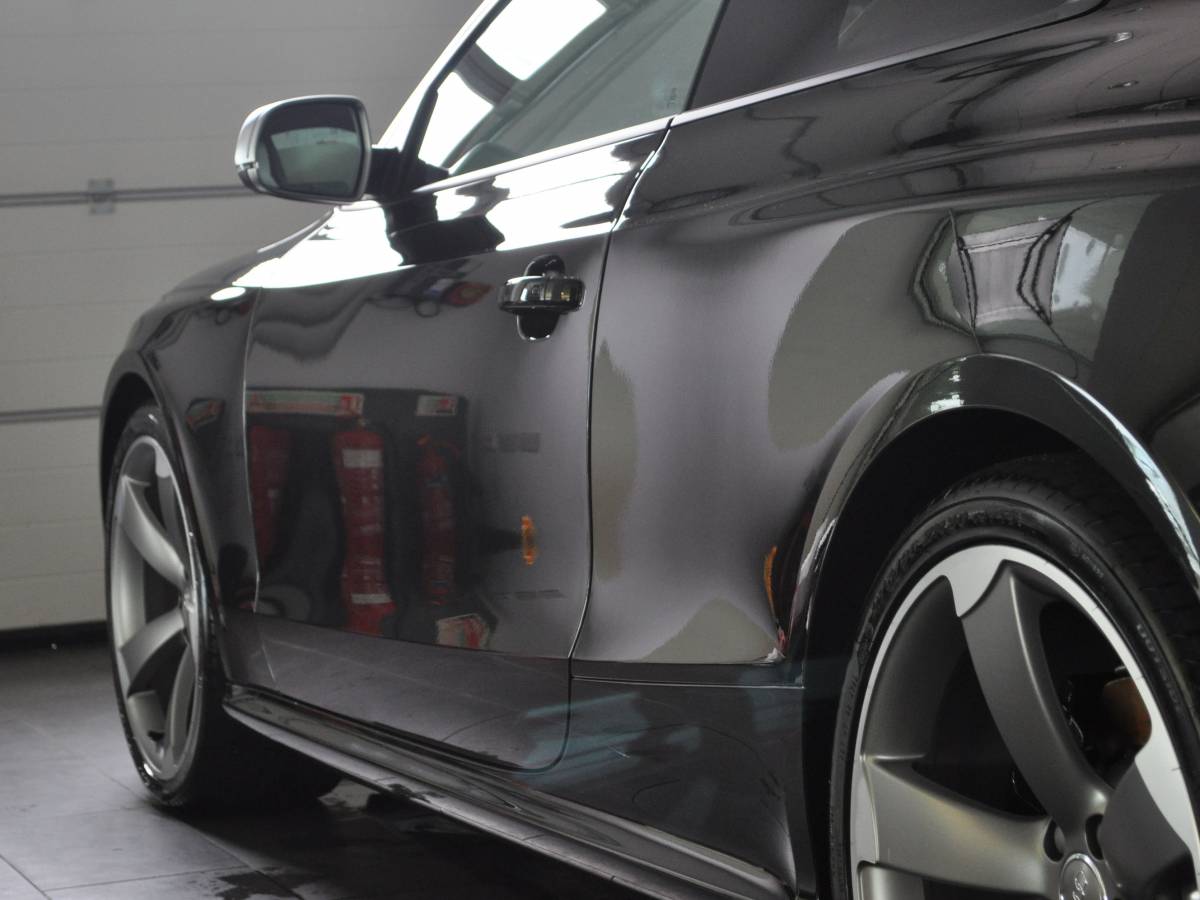
On to the job at hand, and it was decided to carry out a 2 stage correction. Choosing what products to use at these stages was critical – the correction process began one panel at a time, and using the correct pads to allow a good clean correction right up to the leading edge of the paintwork. Every stage of this detail had to be exact.
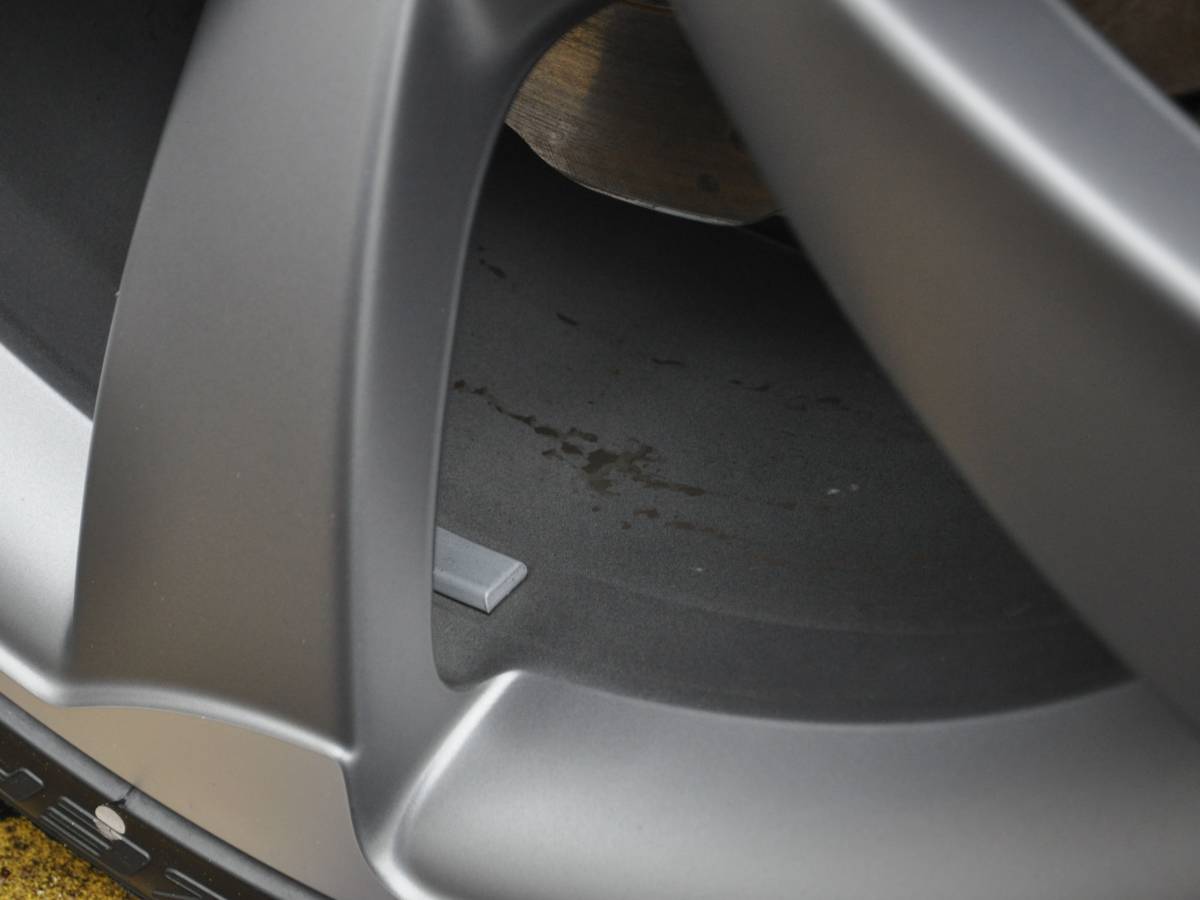
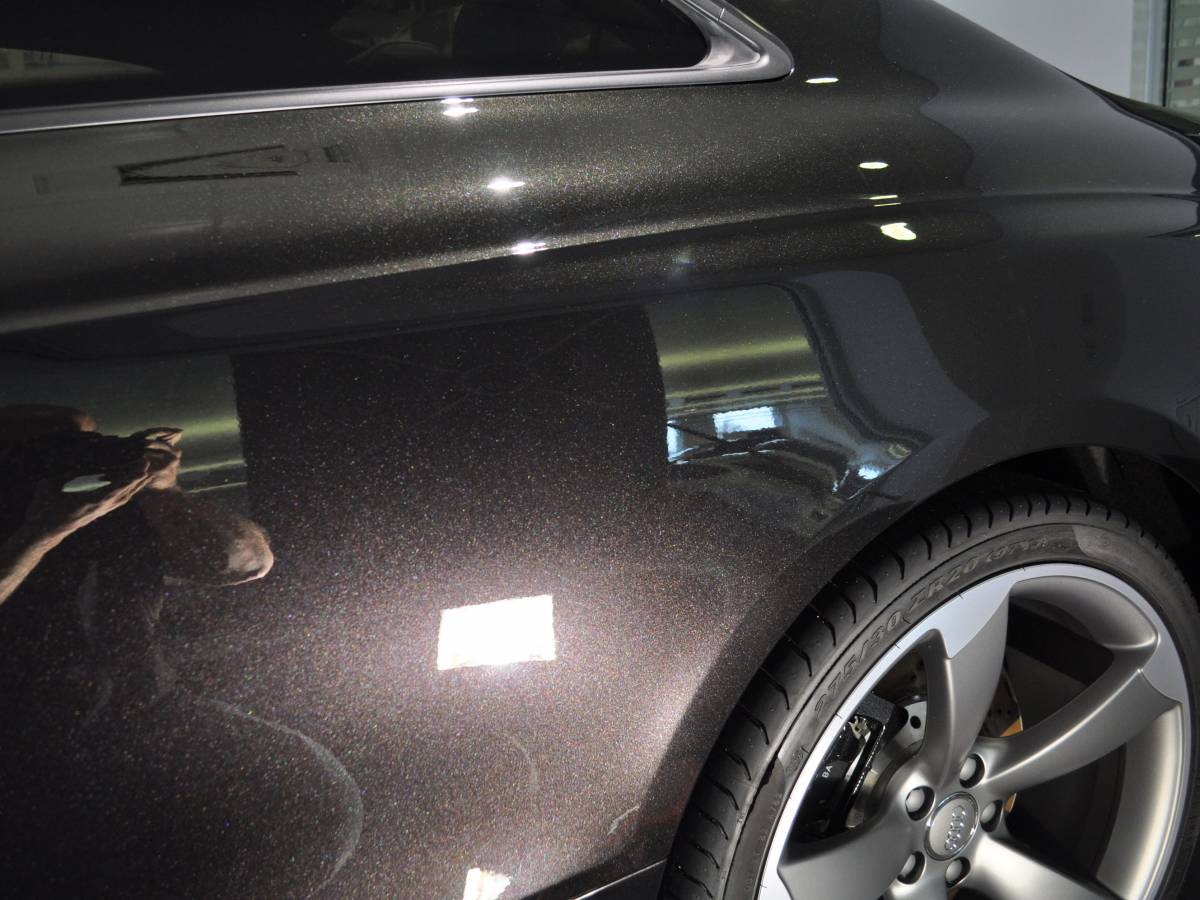
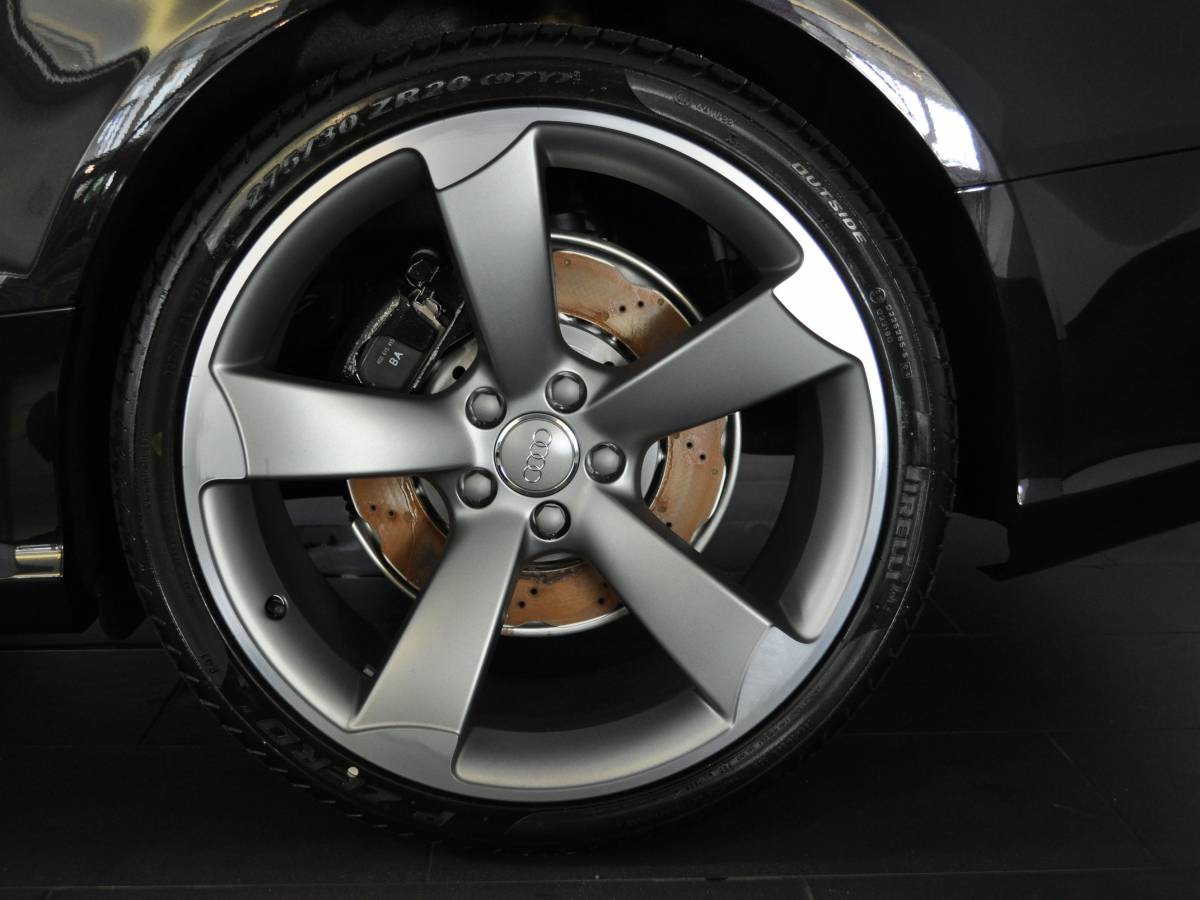
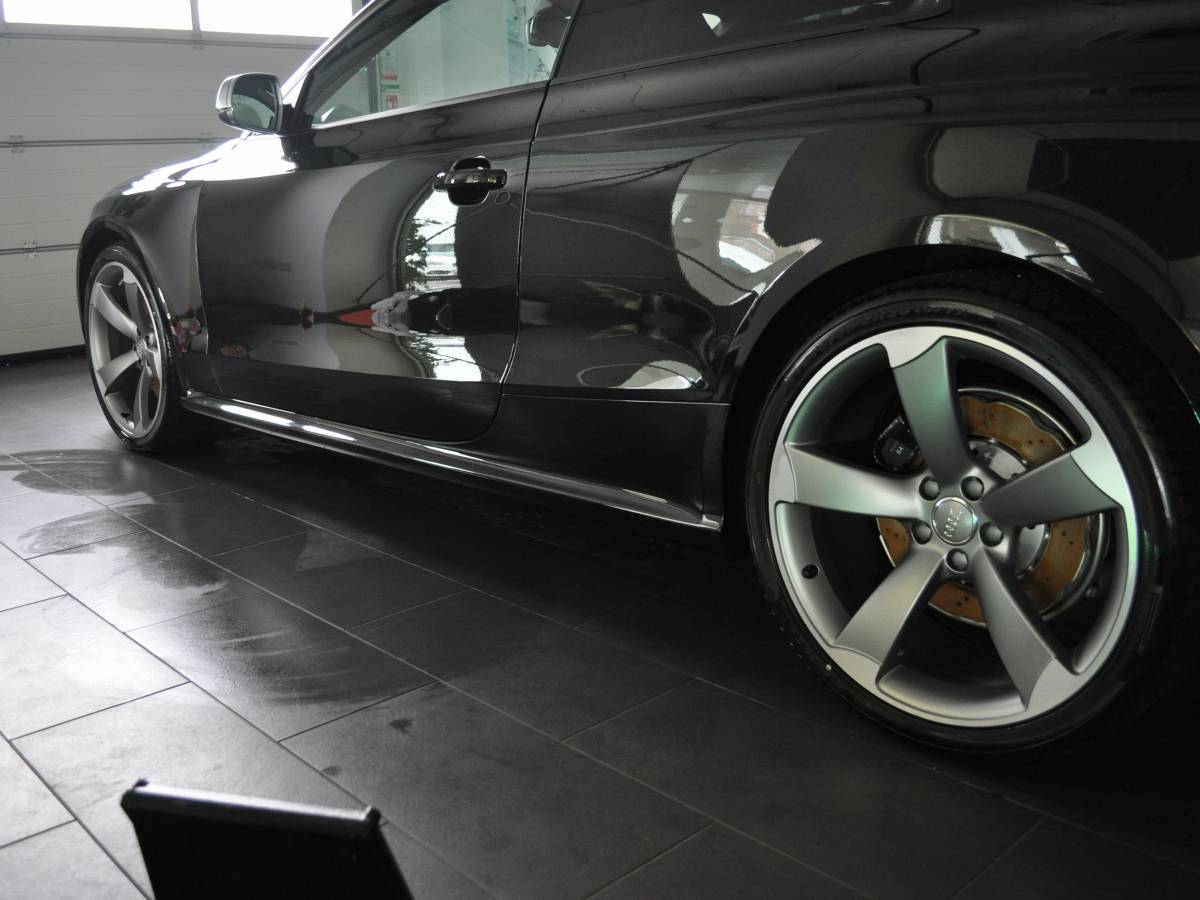
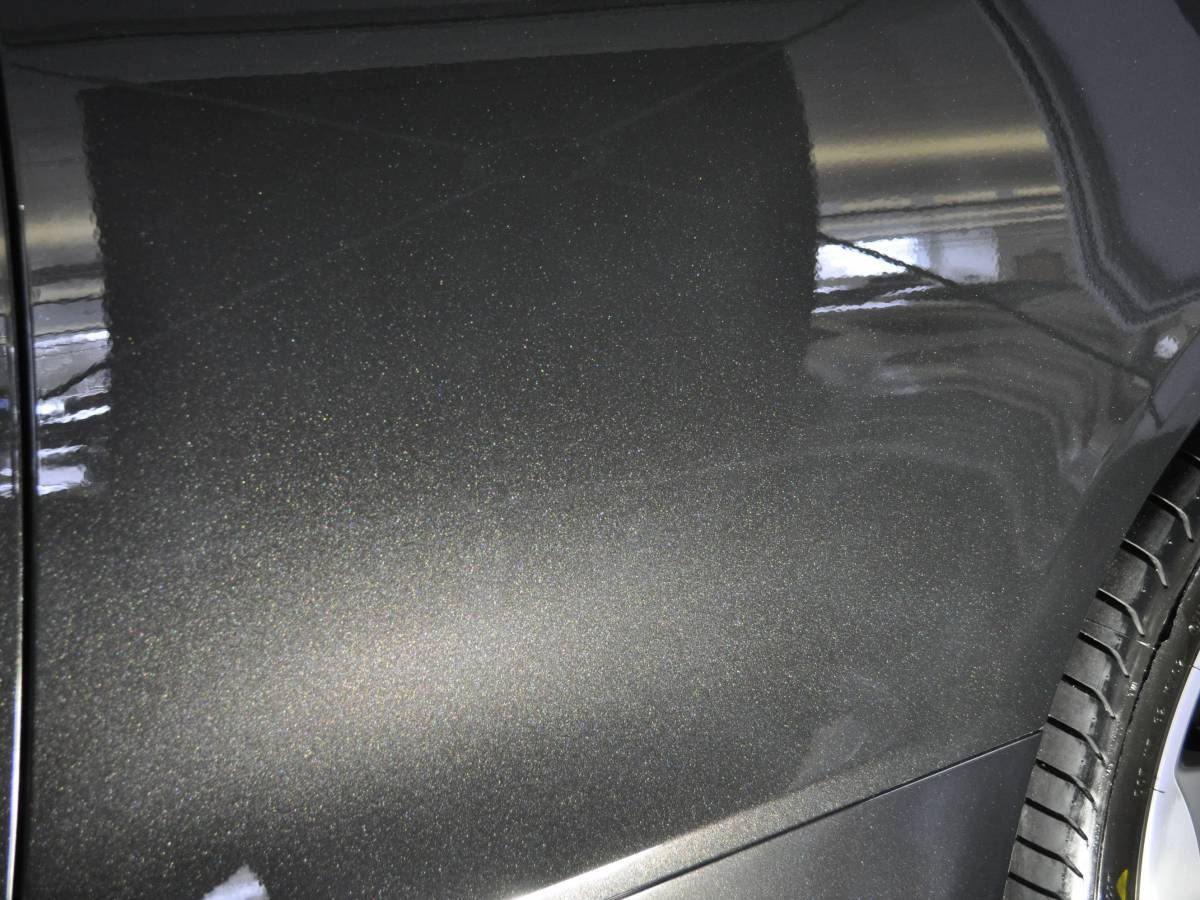
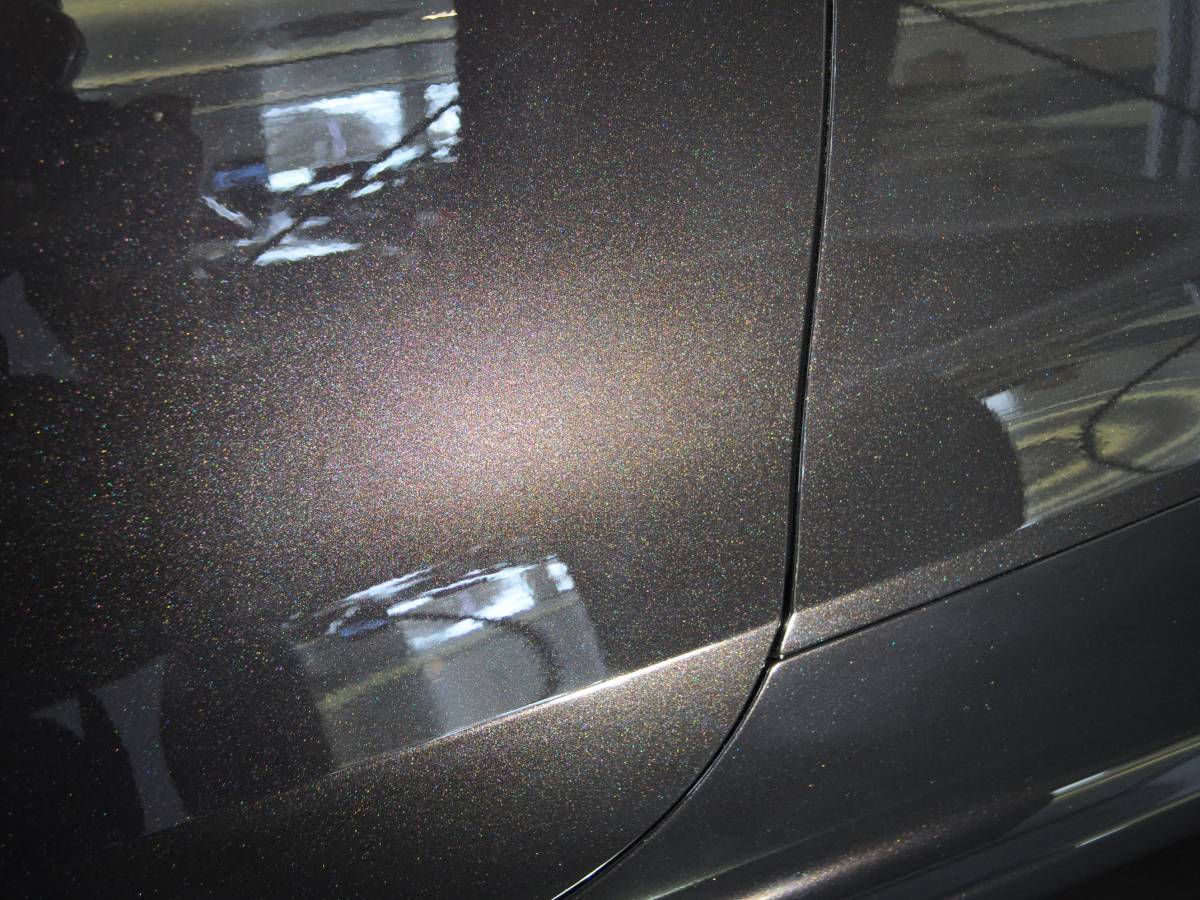
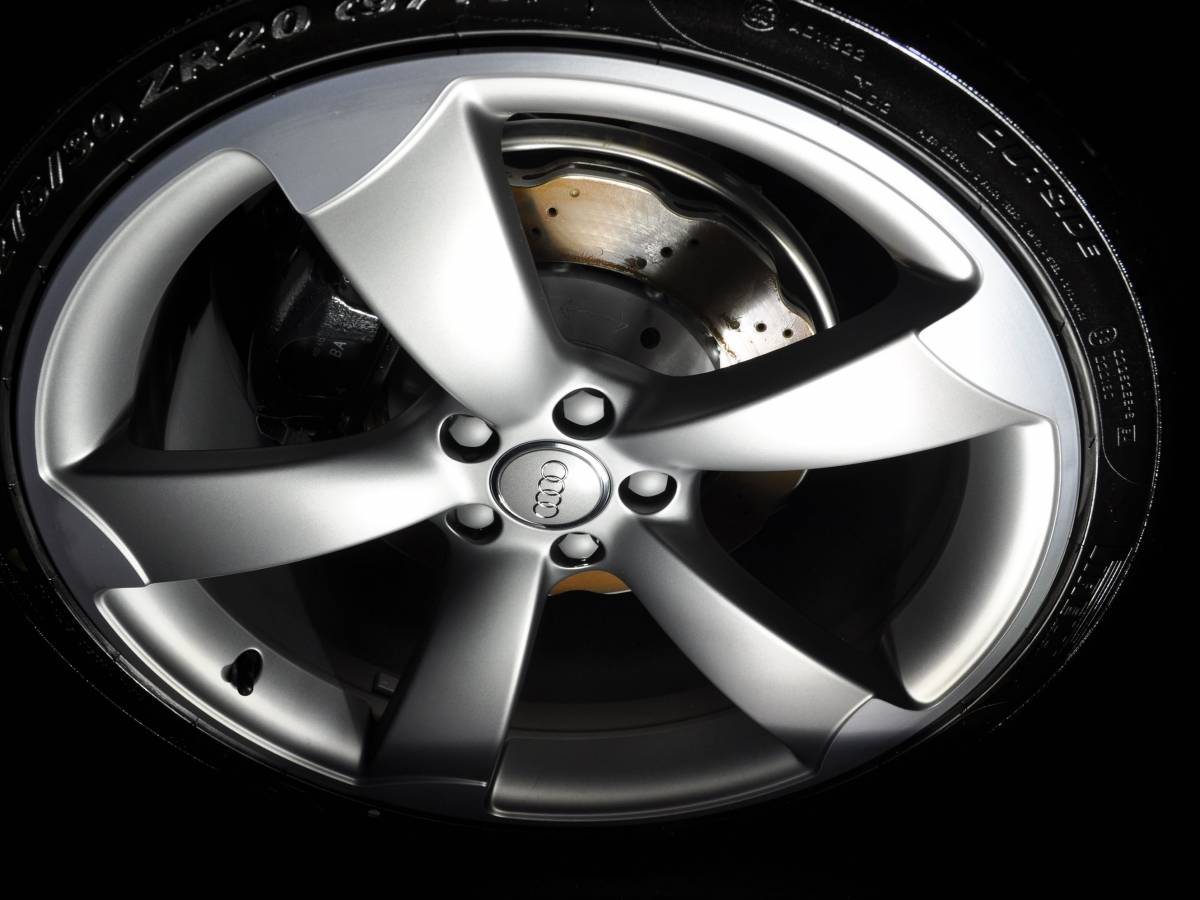
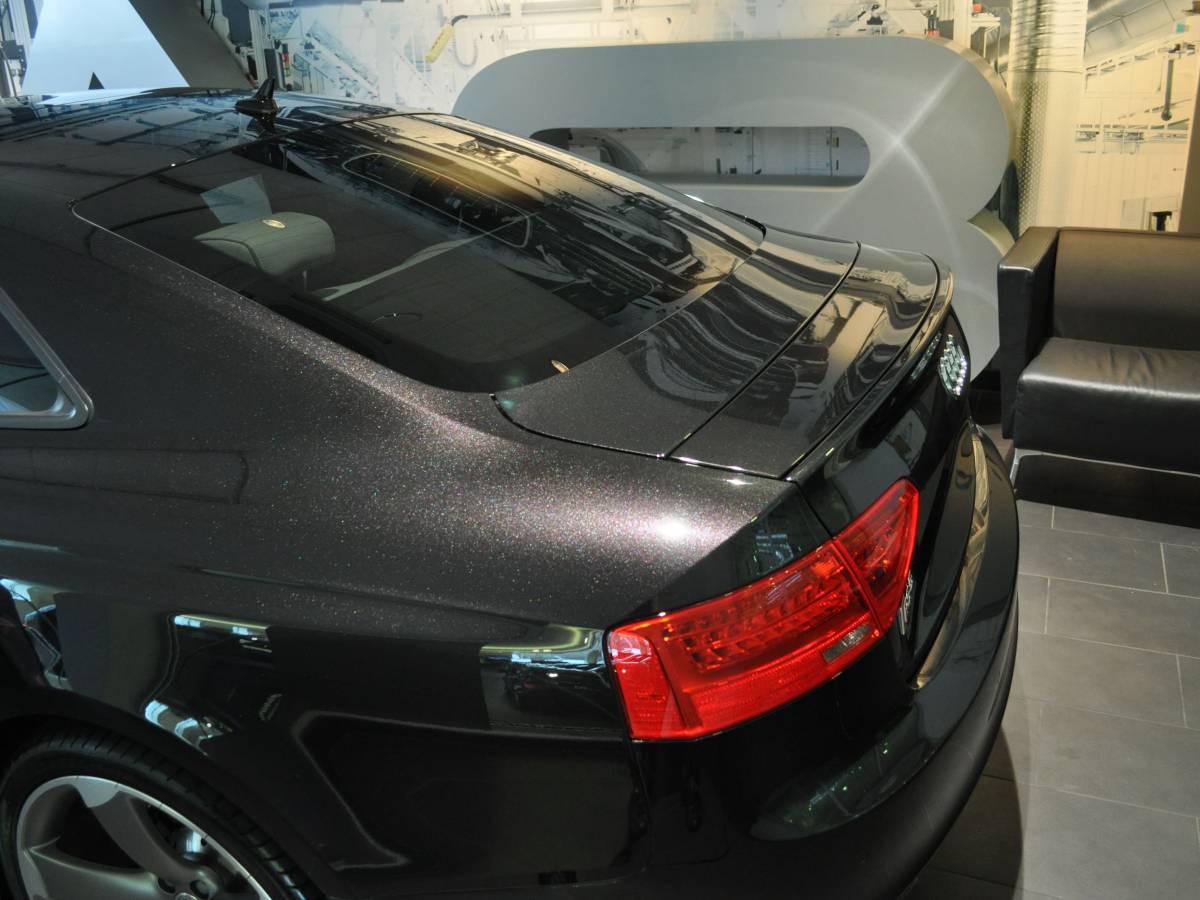
After a 2 stage correction, we then set to the protection part of the detail. In a prior consultation with the client, we discussed daily usage and storage for the car. We settled on a 2 step synthetic protection package for the exterior and a highly developed synthetic package for the interior leather and fabrics. Each stage of the exterior protection takes half an hour to cure. After 2 stages, we then finished the protection with a synthetic booster wipedown. This choice perfectly complimented the cars crystal finish paintwork and didn’t mute the flake or colour. The interior leather was treated to protect from spills and dye transfer from jeans (white leather is prone to this) whilst the carpets were treated with a stain protection liquid formula which had to be applied very precisely. Wheels, tyres, glass and remaining smaller areas of the detail were attended to and then the car was complete.